- Sep 26, 2022
3 New Weekly Planner Template Designs for CANVA and Adobe InDesign
Effortlessly Customize Your Weekly Planner with Canva and InDesign
In this step-by-step tutorial, you'll learn how to easily customize three new weekly planner templates in both Adobe InDesign and Canva. Discover how to change colors, fonts, and layouts to make these planners your own.
Step 1: Explore the Tubular Weekly Vertical Layout in InDesign 🌟
Let's dive into the Tubular Weekly Vertical Layout and see what makes it unique.
Understand the Layout
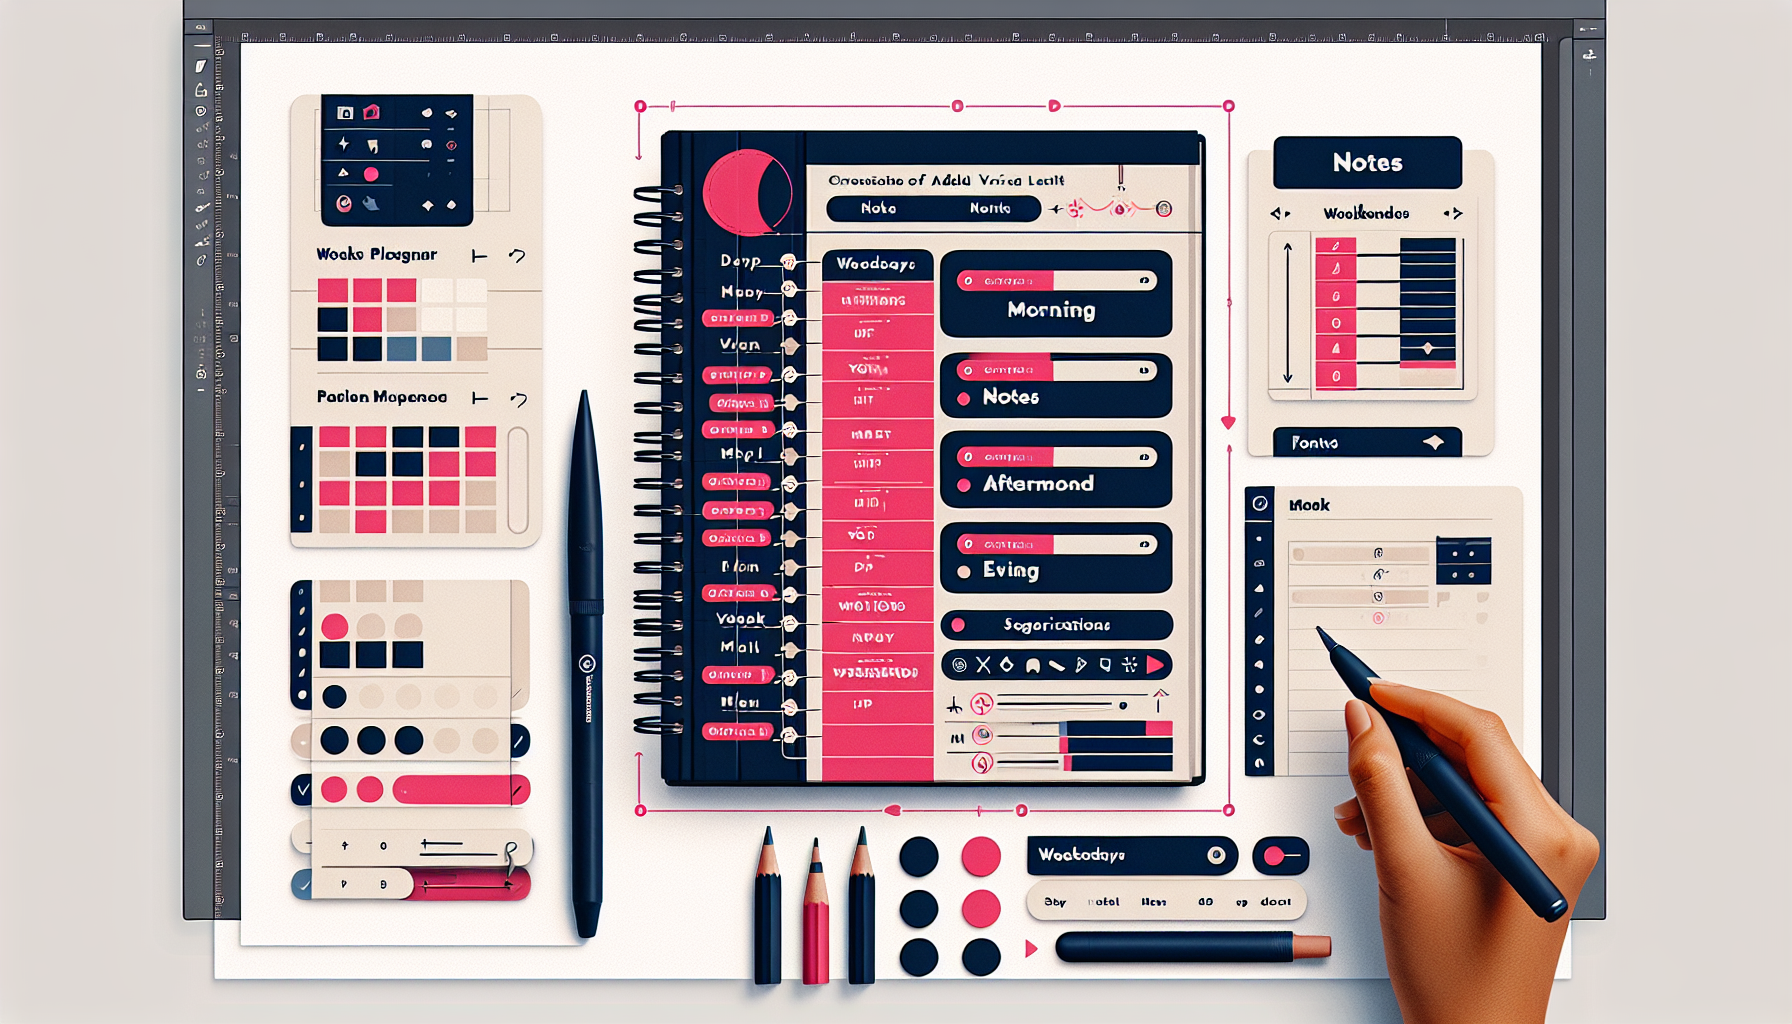
This layout features a visually appealing design with a focus on daily organization.
Month displayed on the left
Sections for notes
Morning, afternoon, evening slots
Hot pink weekdays
Navy blue weekends
Accessing and Navigating Pages
To access the pages, go to the Pages panel. If it's not visible, head to the Window menu and check Pages.
The Pages panel displays parent pages at the top and actual pages below. Hover over a page to see which parent page is applied.
Customizing Colors
Changing colors is straightforward. Highlight the section you want to change and pick your preferred color.
Select hot pink areas
Change to your desired color (e.g., yellow)
Repeat for other sections as needed
Changes will apply to all relevant pages.
Updating Fonts
Don't like the default font? No problem. You can change it easily.
Select the text you want to change
Use the Type tool to choose a new font
Options include Playfair Display or Moon Time
These changes will also apply across all pages.
Efficient Page Updates
When you update a parent page, changes reflect on all child pages. This saves time and ensures consistency.
For example, if you update January's layout, it will apply to the entire month.
Step 2: Customize the Weekly Hourly Planner in InDesign ⏰
Next, let's look at the Weekly Hourly Planner and how to customize it.
Overview of the Layout
This planner is designed for hourly scheduling and includes:
Hourly slots from 6 AM
Hot pink weekdays
Blue weekends
Monthly headers
Accessing the Parent Pages
Similar to the Tubular layout, use the Pages panel to access parent pages.
Hover over a page to see the applied parent page. Note that "Master Pages" is now referred to as "Parent Pages."
Changing Colors
To change the color scheme, follow these steps:
Select the text or section
Choose a new color (e.g., blue)
Apply changes across the planner
Different colors can be used for each column if desired.
Updating Text
Changing text is simple. Select the text you want to change and type in the new text.
This is especially useful for updating monthly headers or labels.
Ensuring Consistency
When making changes, ensure that the parent page is applied correctly to all pages.
For example, if a page doesn't reflect changes, check if the correct parent page is applied.
By following these steps, you can easily customize your Weekly Hourly Planner to suit your needs.
Step 3: Edit the Horizontal Weekly Planner in InDesign 🖌️
Editing the Horizontal Weekly Planner in InDesign is a breeze once you get the hang of it.
Understanding the Layout
This planner features a horizontal layout, perfect for those who prefer a wider view of their week.
"Hello Pretty" cover
Monthly sections (January, February, etc.)
Color-coded days and notes
Changing Colors
Updating colors in this layout involves a few extra steps due to grouped elements.
Ungroup elements first
Select the item to change
Use the color picker to select new colors
Remember to change both the fill and outline colors for consistency.
Customizing Paragraph Styles
Update the dotted lines and text styles using paragraph styles.
Go to Window > Styles > Paragraph Styles
Double-click the style to edit
Change the color under Paragraph Rules
This ensures all instances of the style update simultaneously.
Ensuring Consistency Across Months
Make sure changes reflect across all months by updating parent pages.
Apply changes to January
Check other months for consistency
Manually update any missed elements
This approach saves time and keeps your planner cohesive.
Step 4: Customize the Tubular Weekly Vertical Layout in Canva 🎨
Now, let's switch gears and customize the Tubular Weekly Vertical Layout in Canva.
Accessing the Templates
Find the templates in your Thrive Cart dashboard.
Go to lisacer.thrivecart.com
Navigate to your courses
Look for "Popular Layouts Pack"
Inside, you'll find all three templates ready for editing.
Editing Elements
Canva makes it easy to edit various elements with a few clicks.
Select the element to edit
Use the toolbar to change colors, fonts, and more
Drag and drop elements to rearrange
Changes are applied in real-time, making it simple to see your edits.
Using Canva Links
Each template has a unique Canva link for easy access.
Navigate to the "Canva File" section
Click on the editable Canva link
Start customizing your template
This keeps your templates organized and accessible.
Saving and Sharing
Once you're done, save and share your customized planner.
Click on the "Download" button
Choose your preferred format (PDF, PNG, etc.)
Share with friends or print for personal use
Canva makes it easy to download and distribute your planners.
By following these steps, you can effortlessly customize your weekly planners in both InDesign and Canva. Happy planning!
Step 5: Edit the Weekly Hourly Planner in Canva ⏰
Editing the Weekly Hourly Planner in Canva is straightforward and efficient.
Using the Template
Start by using the provided template. Click 'Use Template' to open it in Canva.
Select 'Use Template'
Open in Canva
This brings up the template for easy customization.
Changing Colors
Customize colors quickly using Canva's intuitive tools.
Select an element
Click the color option
Choose a new color
Note that some colors, like the hot pink cover, may not be editable.
Editing Text
Update text to suit your needs. You can change headers, labels, and more.
Select the text box
Type in your new text
Adjust font and size
This flexibility allows for personalized touches.
Working with Images
Some elements are images and may not be editable. However, you can still change surrounding elements.
Select the image
Replace or adjust it
Use Canva's image tools
This ensures your planner is visually cohesive.
Saving Your Work
Once done, save and share your planner. Canva offers various download options.
Click 'Download'
Choose format (PDF, PNG, etc.)
Save to your device
It's easy to distribute or print your customized planner.
Step 6: Personalize the Horizontal Weekly Planner in Canva 🖌️
The Horizontal Weekly Planner in Canva offers a wide view of your week, making it easy to personalize.
Accessing the Template
Open the Horizontal Weekly Planner template in Canva.
Click 'Use Template'
Open it in Canva
This template is ready for customization.
Editing Colors
Change colors to match your preference. Canva streamlines this process.
Select the element
Click on the color option
Pick your desired color
This allows for a cohesive color scheme.
Customizing Text
Update text elements to fit your needs. Change headers, labels, and more.
Select the text box
Type your new text
Adjust font and size
This ensures your planner is tailored to you.
Working with Shapes and Lines
Shapes and lines can be customized for a unique look.
Select the shape or line
Change color and size
Rearrange as needed
This adds a personal touch to your planner.
Saving and Sharing
Once customization is complete, save and share your planner.
Click 'Download'
Choose format (PDF, PNG, etc.)
Save to your device
Canva makes it easy to distribute or print your planner.
By following these steps, you can effortlessly customize your weekly planners in Canva. Enjoy your personalized planning experience!
Return To Blog
Blog Posts
Pretty Fabulous YouTube Channel
It's LIVE + FREE
AI Selfies 101
Never waste thousands of $$ on a photoshoot ever again
Give yourself an AI photoshoot to match any branding you have!