- Feb 20, 2018
How To Import Text Into InDesign WITHOUT having to Reformat
Streamline Your Workflow: Import Text into Adobe InDesign with These 5 Easy Steps
5 Easy Steps to Import Text into Adobe InDesign Without Reformatting
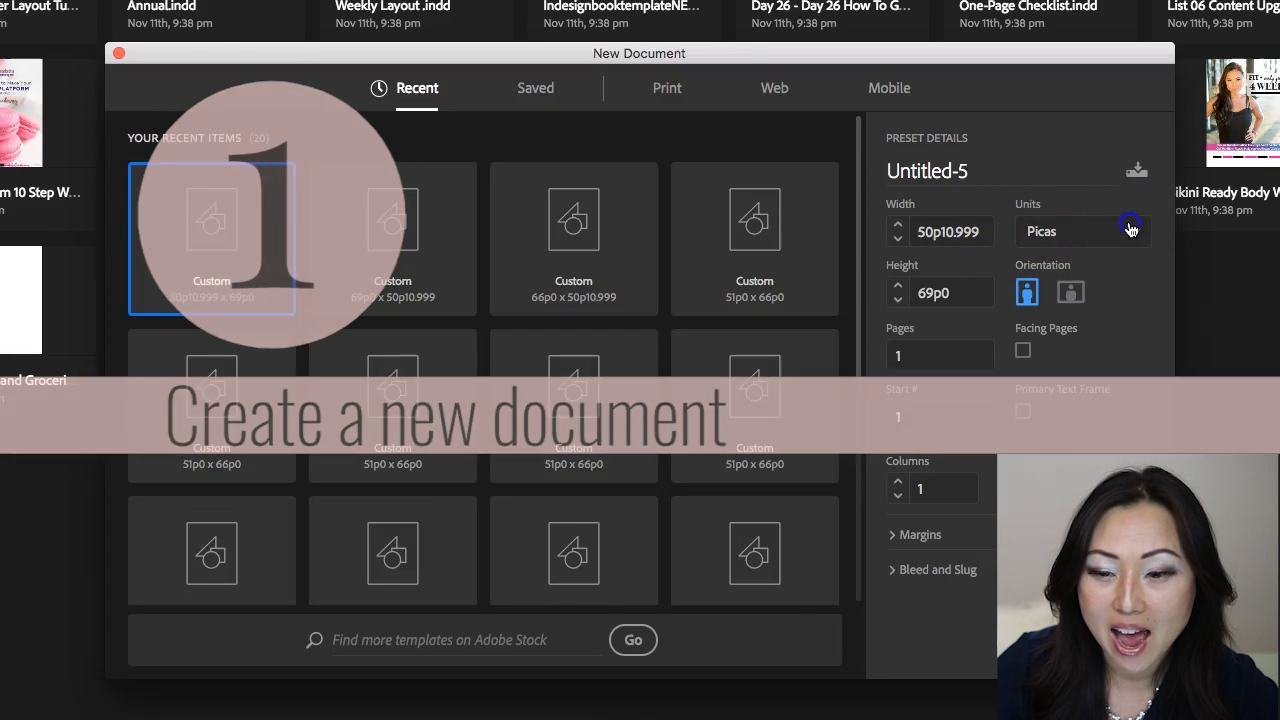
1. Create a New Document 📝
Before importing text, we need to set up a new document in Adobe InDesign. This ensures that our text fits perfectly within the desired layout.
Start by creating a document. For this example, we'll use an 8.5 x 11-inch document. If you are preparing a document for Kindle or CreateSpace, adjust the dimensions accordingly.
Make sure to set the units to inches and choose a portrait orientation. Margins can be set to half an inch. Click 'Create' to finalize the document setup. You should now see the document with the defined margins.
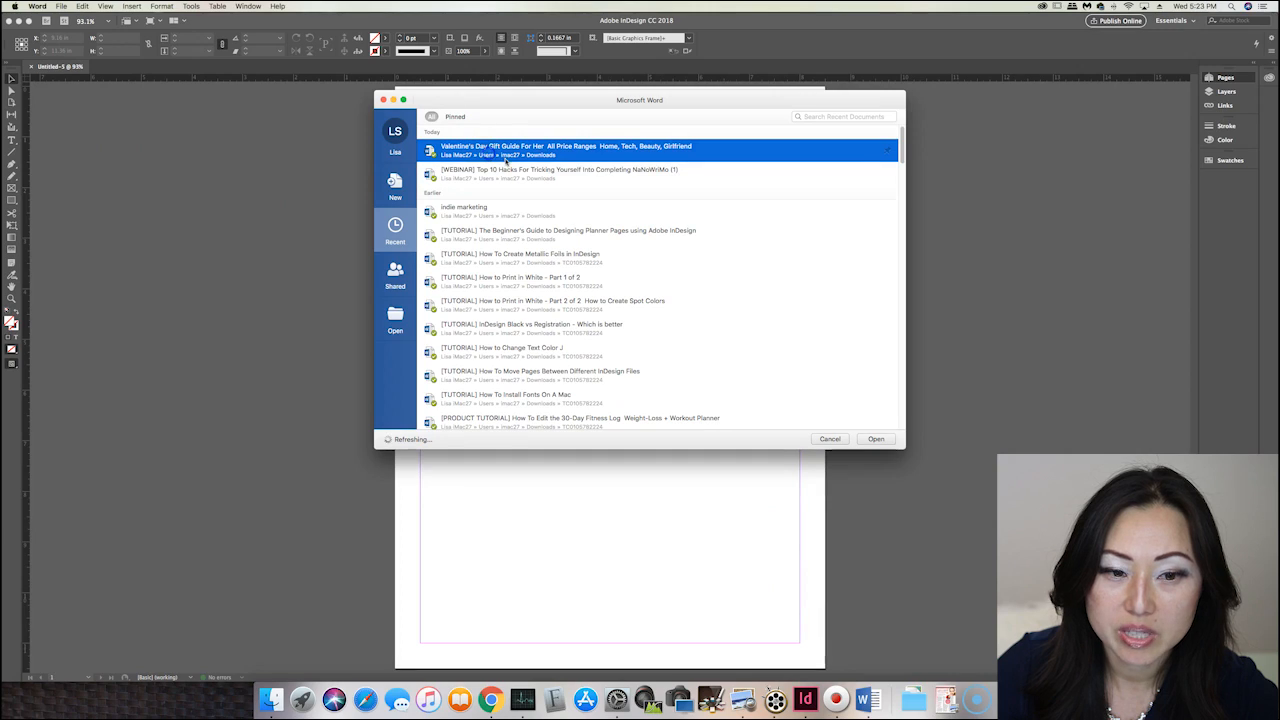
2. Open Your Word Document 📄
Next, open the Microsoft Word document that you want to import into InDesign. It's important to have this ready as we will be referencing it shortly.
Most people make the mistake of copying and pasting text directly into InDesign. While this works for simple documents, it can cause formatting issues for longer documents with complex formatting.
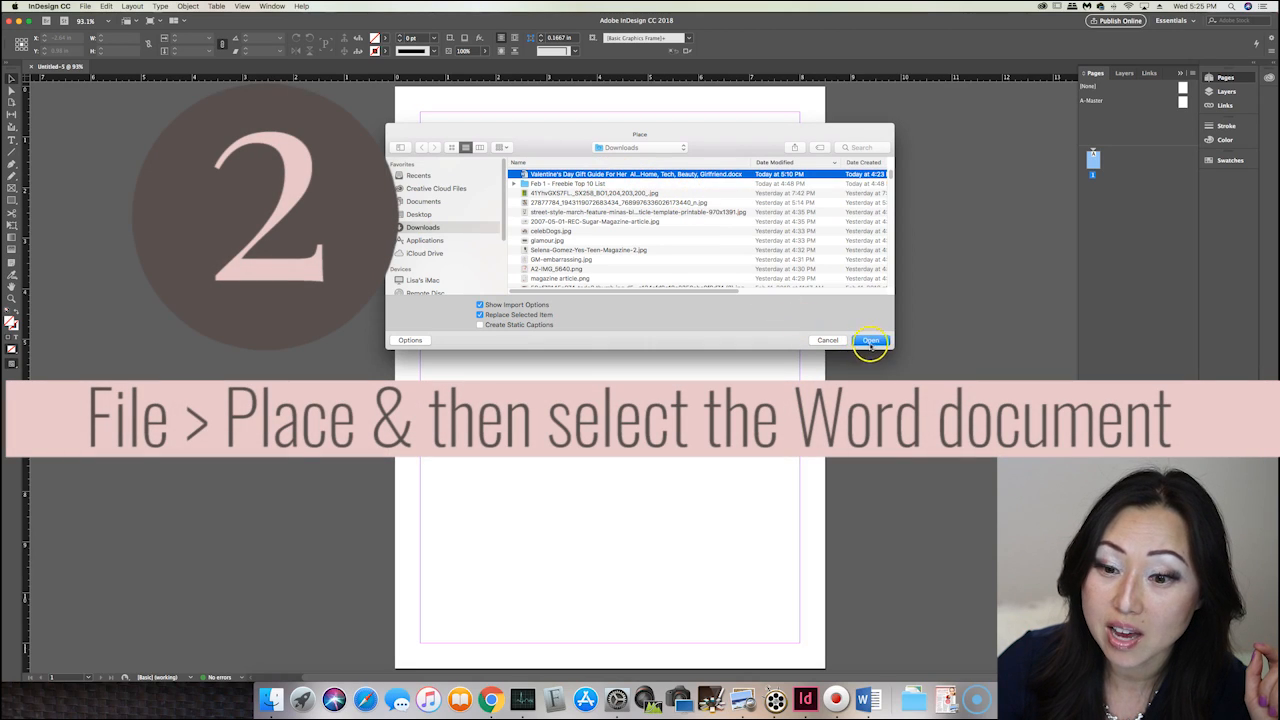
3. Place the Word Document 📂
Instead of copying and pasting, use the 'Place' command in InDesign. This method preserves the formatting and makes the process smoother.
In InDesign, go to 'File' and select 'Place'. Navigate to your Word document and select it. Make sure to check 'Show Import Options' for more control over the import process.
Click 'Open' to proceed. If any font issues arise, don't worry; you can resolve them later.
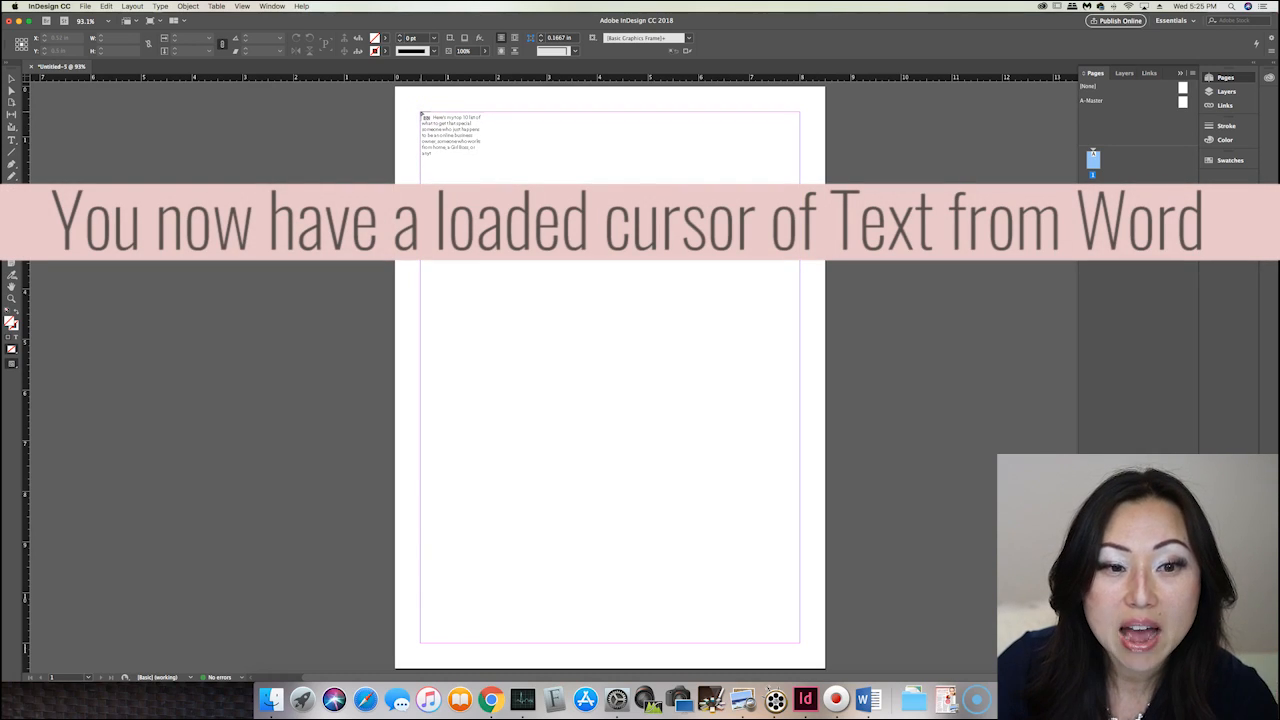
4. Draw a Text Box 🔲
With the loaded cursor, you can now draw a text box in your InDesign document where you want the text to appear. This method allows you to control the placement and size of the text box.
However, if your document is long, you might encounter text overflow issues. You'll notice a small plus sign indicating that not all text fits within the text box.
To fix this, create additional pages and link the text boxes. This method can be tedious for lengthy documents.
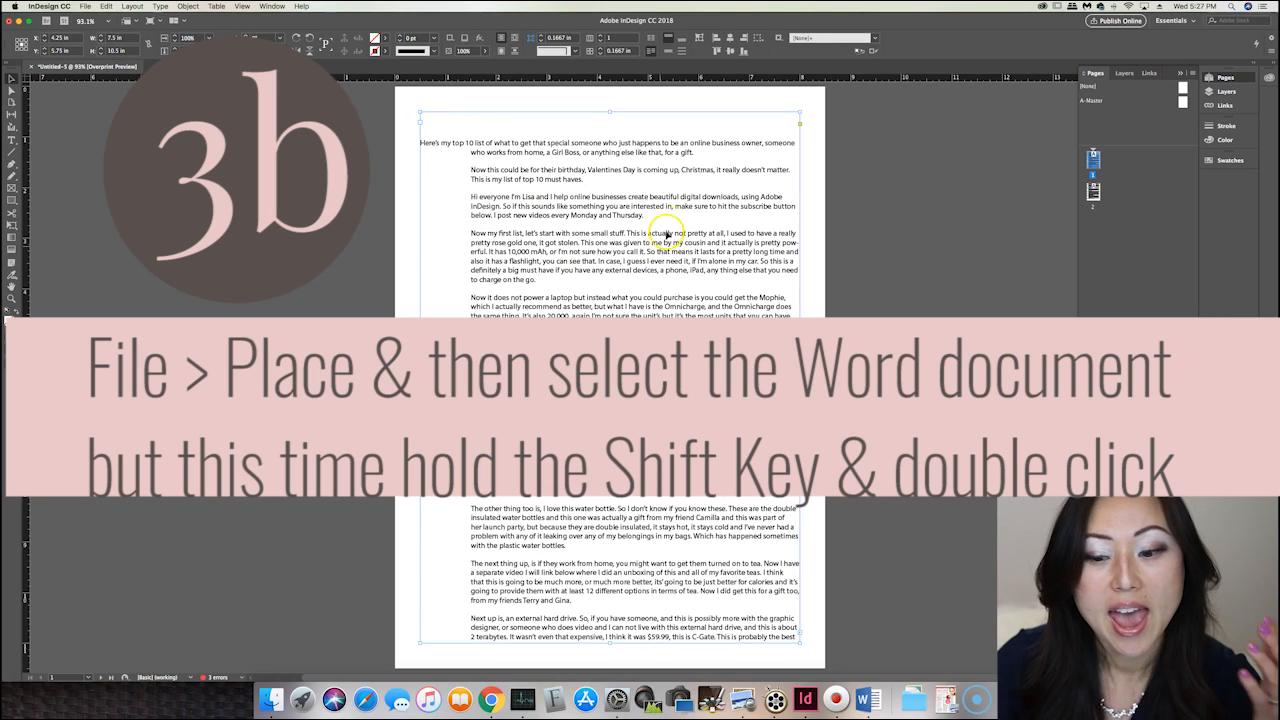
5. Use the Shift Key for Auto-Placement ✨
For a more efficient method, use the shift key during the placement process. This allows InDesign to automatically create new pages and link text boxes as needed.
Hold the shift key and double-click with the loaded cursor. InDesign will import the text and create new pages automatically. This method is perfect for lengthy documents, saving you time and effort.
You can verify that the text boxes are linked by checking for the small arrow icons, indicating the flow of text across pages.
Conclusion 🎉
Importing text into InDesign doesn't have to be a daunting task. By following these five easy steps, you can streamline the process and ensure that your formatting remains intact.
Remember to set up your document correctly, use the 'Place' command, and leverage the shift key for automatic page creation. These tips will save you time and make your workflow more efficient.
If you have any questions or additional tips, feel free to share them. Happy designing!
Return To Blog
Blog Posts
Pretty Fabulous YouTube Channel
It's LIVE + FREE
AI Selfies 101
Never waste thousands of $$ on a photoshoot ever again
Give yourself an AI photoshoot to match any branding you have!