- Apr 18, 2023
Create A Planner Using AI Tools
Unleash Your Creativity: Craft Stunning Planners with AI
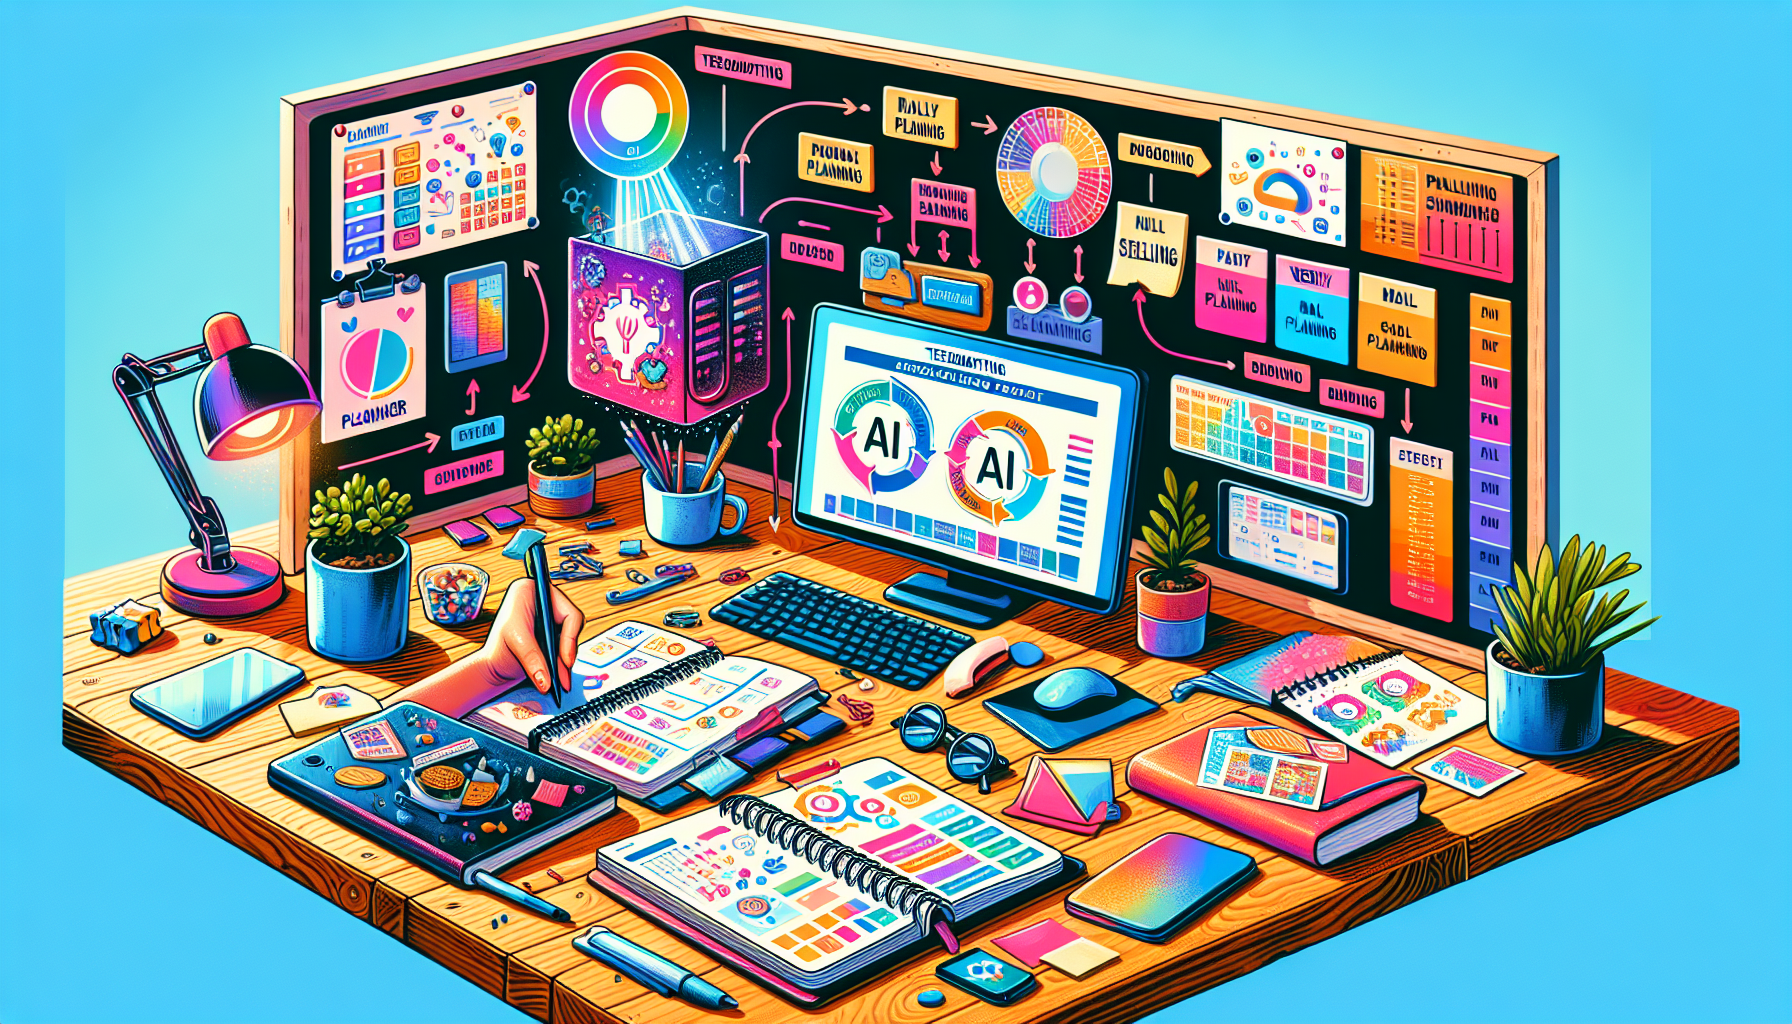
In this step-by-step tutorial, we'll explore how to leverage AI tools to design and create your own personalized planner. From brainstorming ideas to generating content, we'll uncover the power of AI in streamlining the planner-making process.
Step 1: Determine Your Planner's Purpose 🎯
Before diving into the design, it's essential to establish the purpose of your planner. This clarity will guide your decisions and ensure your planner meets the needs of your target audience.
Identify Your Target Audience
Consider who will be using your planner. Are they students, professionals, stay-at-home parents, or creatives? Knowing your audience will help you tailor the content and design to their specific needs.
Choose a Planner Type
Decide whether your planner will be dated or undated. A dated planner is great for those who prefer structure, while an undated planner offers flexibility. Both options have their pros and cons, so consider what your audience prefers.
Define the Core Features
Think about the main features your planner should include. Will it have daily, weekly, or monthly layouts? What additional sections, like meal planning, budgeting, or goal setting, will be most useful to your audience?
Daily layouts
Weekly layouts
Monthly layouts
Meal planning
Budgeting
Goal setting
Step 2: Explore Popular Planner Ideas 💡
Once you have a clear purpose, it's time to brainstorm and explore popular planner ideas. This will help you create a planner that stands out and meets market demands.
Ask AI for Inspiration
AI tools can be incredibly helpful in generating ideas. You can ask AI for popular planner themes or features that resonate with different audiences. This can give you a solid starting point.
Top Planner Ideas
Here are some popular planner ideas that cater to various needs and interests:
Daily Planners
Meal Planning
Cleaning Schedules
Budgeting Pages
Self-Care Journals
Goal Setting
Homeschooling Planners
Family Organizers
Travel Planning
Memory Keeping
Consider Market Trends
It's also beneficial to look at current market trends. AI can help identify what's currently popular, although sometimes the data might be vague. Use additional tools and resources to get a clearer picture.
Top Selling Platforms
Knowing where to sell your planner is just as important as its design. Here are some top platforms for selling digital planners:
Etsy
Gumroad
Shopify
Creative Market
Amazon
Teachers Pay Teachers
SendOwl
Payhip
Demographics and Preferences
Understanding the demographics and preferences of your potential customers can guide your design choices. For example, young adults and professionals might prefer sleek and minimalist designs, while creative professionals might lean towards more vibrant and artistic layouts.
Best Selling Cover Colors
Choosing the right cover color can make a significant impact. According to trends, the best-selling cover colors include:
Black
Navy Blue
Pastel
Neutral
Bright Colors
Psychology of Color
Consider the psychology of color when selecting your cover design. Different colors evoke different emotions and can influence a buyer’s decision. For example, blue is often associated with calm and trust, while yellow can evoke happiness and energy.
Seasonal and Brand Colors
Using seasonal colors or your brand colors can also make your planner more appealing. Seasonal colors can make your planner feel timely and relevant, while brand colors can help reinforce brand identity.
With these steps and insights, you're well on your way to creating a planner that not only looks great but also serves a valuable purpose for your audience. Stay tuned for the next steps in the planner creation process!
Step 3: Design Your Planner with AI 🎨
Designing your planner can be a fun and creative process, especially when you leverage AI tools. These tools can help you visualize your ideas and create stunning designs effortlessly.
Using Jasper for Design
Jasper is an AI tool that can assist you in generating design ideas for your planner. You can specify your preferences, such as color schemes or themes, and let Jasper create some initial designs for you.
Input design preferences
Generate visual ideas
Refine and select designs
AI in Canva
Canva is another powerful tool that offers AI-assisted design features. You can use Canva to create professional-looking planner pages and covers with ease.
Select templates
Customize elements
Use AI for suggestions
Experiment with Tome
Tome can generate entire presentations and visual elements for your planner. Although it may not always hit the mark, it’s a useful tool for sparking creativity.
Create presentations
Generate decorative elements
Inspire new ideas
Refine AI-Generated Designs
While AI-generated designs can be a great starting point, they often require refinement. Take the initial designs and tweak them to match your vision.
Edit colors and fonts
Adjust layouts
Add personal touches
By leveraging these AI tools, you can streamline the design process and create visually appealing planners that stand out.
Step 4: Generate Planner Content with ChatGPT 📝
Once you’ve designed your planner, the next step is to fill it with valuable content. ChatGPT can assist you in generating engaging and useful content for your planner.
Create Introduction Pages
Start by asking ChatGPT to draft an introduction page for your planner. This can give you a solid foundation to build upon and customize.
Provide context
Generate draft content
Customize and refine
Develop Planner Sections
ChatGPT can also help you create content for various sections of your planner, such as goal setting, meal planning, or budgeting.
Specify section themes
Generate helpful tips
Include motivational quotes
Brainstorm Additional Features
If you’re looking to add unique features to your planner, ChatGPT can provide suggestions and ideas to make your planner more comprehensive and engaging.
Ask for feature ideas
Generate content outlines
Refine and implement
Personalize Your Content
While AI-generated content is a great starting point, it’s essential to personalize it to reflect your style and meet your audience’s needs.
Add personal anecdotes
Adjust tone and voice
Include custom graphics
With ChatGPT, you can efficiently generate high-quality content for your planner, making the creation process smoother and more enjoyable.
Step 5: Customize Your Planner Pages ✏️
Now that you have your design and content, it's time to customize your planner pages. Personalizing these pages will make your planner unique and engaging.
Choose Your Layouts
Decide on the layout for each section of your planner. This includes daily, weekly, and monthly spreads. Make sure the layout aligns with your audience's needs.
Daily spreads
Weekly overviews
Monthly calendars
Add Interactive Elements
Incorporate interactive elements like checklists, habit trackers, and goal-setting sections. These features can enhance usability and keep users engaged.
Checklists
Habit trackers
Goal-setting sections
Step 6: Bring Your Planner to Life 🌟
It's time to bring your planner to life! This final step involves adding finishing touches and preparing your planner for distribution.
Review and Refine
Go through your planner to ensure all elements are cohesive and functional. Pay attention to detail and make any necessary adjustments.
Proofread content
Check design consistency
Test usability
Prepare for Distribution
Once satisfied with your planner, prepare it for distribution. Choose the platforms where you'll sell or share your planner and format it accordingly.
Format for digital use
Prepare print-ready files
Upload to chosen platforms
By following these steps, your planner will be ready to inspire and organize lives. Happy planning!
Return To Blog
Blog Posts
Pretty Fabulous YouTube Channel
It's LIVE + FREE
AI Selfies 101
Never waste thousands of $$ on a photoshoot ever again
Give yourself an AI photoshoot to match any branding you have!