- Sep 8, 2022
How To Add Sticker Cut Lines using Adobe Illustrator - for Cricut
Step 1: Open Your Adobe Illustrator File 📁
Let's begin by opening your Adobe Illustrator file. This file is provided inside of PlannerPixie. You'll see original stickers in Adobe Illustrator format.
The first artboard contains all the original stickers. These stickers were hand-drawn by someone else. If you need the original file for editing or making changes, it's available here.
Step 2: Understand the Artboards 🖼️
The second artboard contains all the cut lines that match the stickers on the first artboard. This is crucial for ensuring that your sticker page and cut file page are aligned.
If you want to perform a simple edit, you can delete items. Just select the items you want to remove, group them, and hit the delete button. This will ensure your sticker page and cut file page match.
Step 3: Adjust Cut Lines for Calibration 🔄
Sometimes, the cut lines might be too close. This can cause issues with machines that aren't sensitive to calibration. To fix this, you need to make a wider cut line.
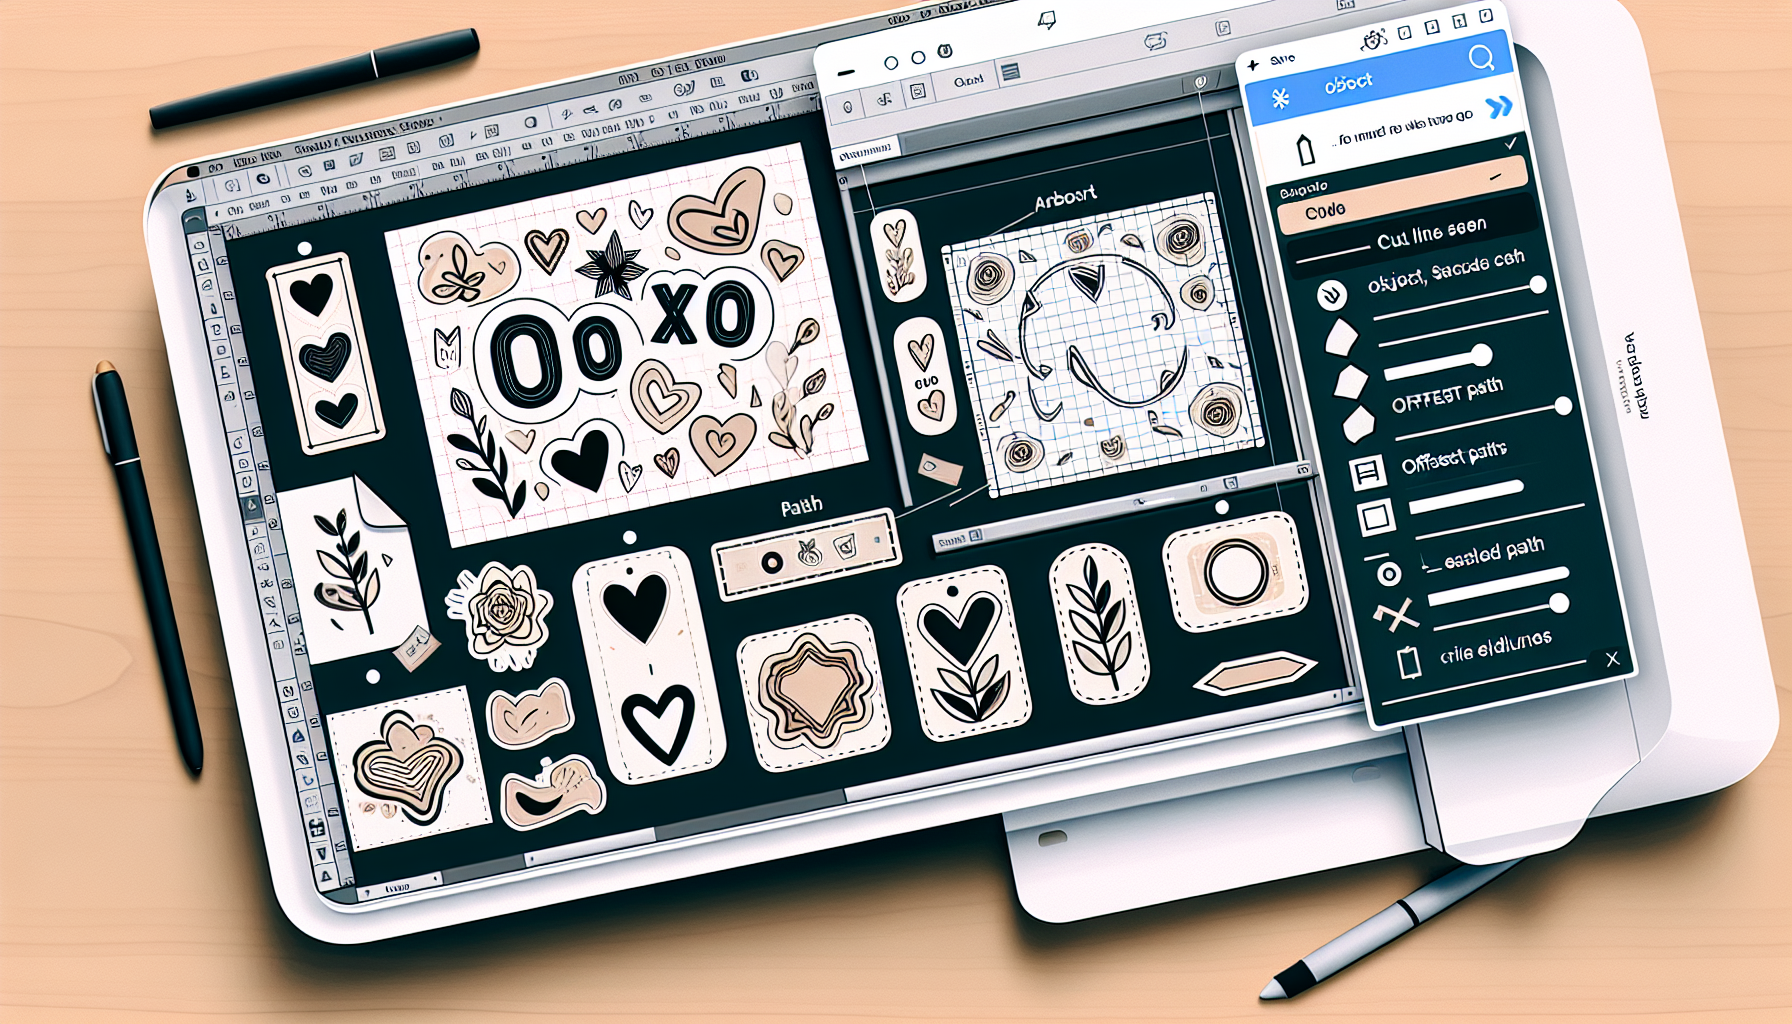
Let's take the "XOXO" sticker as an example. Here's how to make new cut lines:
Select the sticker
Go to Object > Path > Offset Path
Ensure it says "Round"
Adjust the offset value (e.g., 0.25 or 0.20)
Click OK
Step 4: Use the Pathfinder Tool 🛠️
Next, go to the Window menu and ensure there's a checkmark in front of Pathfinder. This tool will help you unite the paths.
Select the first box in the Pathfinder panel, which is Unite. This will combine all the paths into one.
Step 5: Customize Your Cut Shape ✂️
After uniting the paths, you might find the new cut shape is too big or not centered. You can customize it by filling it with a color for better visibility. Here's how:
Select the cut shape
Fill it with white (or any visible color)
Ungroup the elements if needed
Delete unnecessary middle objects
Now, you should have a clean cut file image. Your cut file only needs the path around it. Ensure it's centered before sending it to Cricut.
Step 6: Repeat for Each Sticker 🔄
You'll need to repeat this process for each sticker. Unfortunately, there's no quicker way to do this in Adobe Illustrator as of now.
If you have questions about this file or how to edit it, leave them in the comments below. I'll do my best to answer or find out the information for you.
Step 7: Save and Export Your Files 💾
Once all your cut lines are set, save your file. You can also export the stickers as PNG files if needed. These files are available inside of Planner Pixies, along with the InDesign file and other resources.
Happy stickering!
Return To Blog
Blog Posts
Pretty Fabulous YouTube Channel
It's LIVE + FREE
AI Selfies 101
Never waste thousands of $$ on a photoshoot ever again
Give yourself an AI photoshoot to match any branding you have!