- Feb 22, 2025
Step-by-Step Guide to Using the Liene Print & Cut Sticker Maker
TUTORIAL Liene Print & Cut Sticker
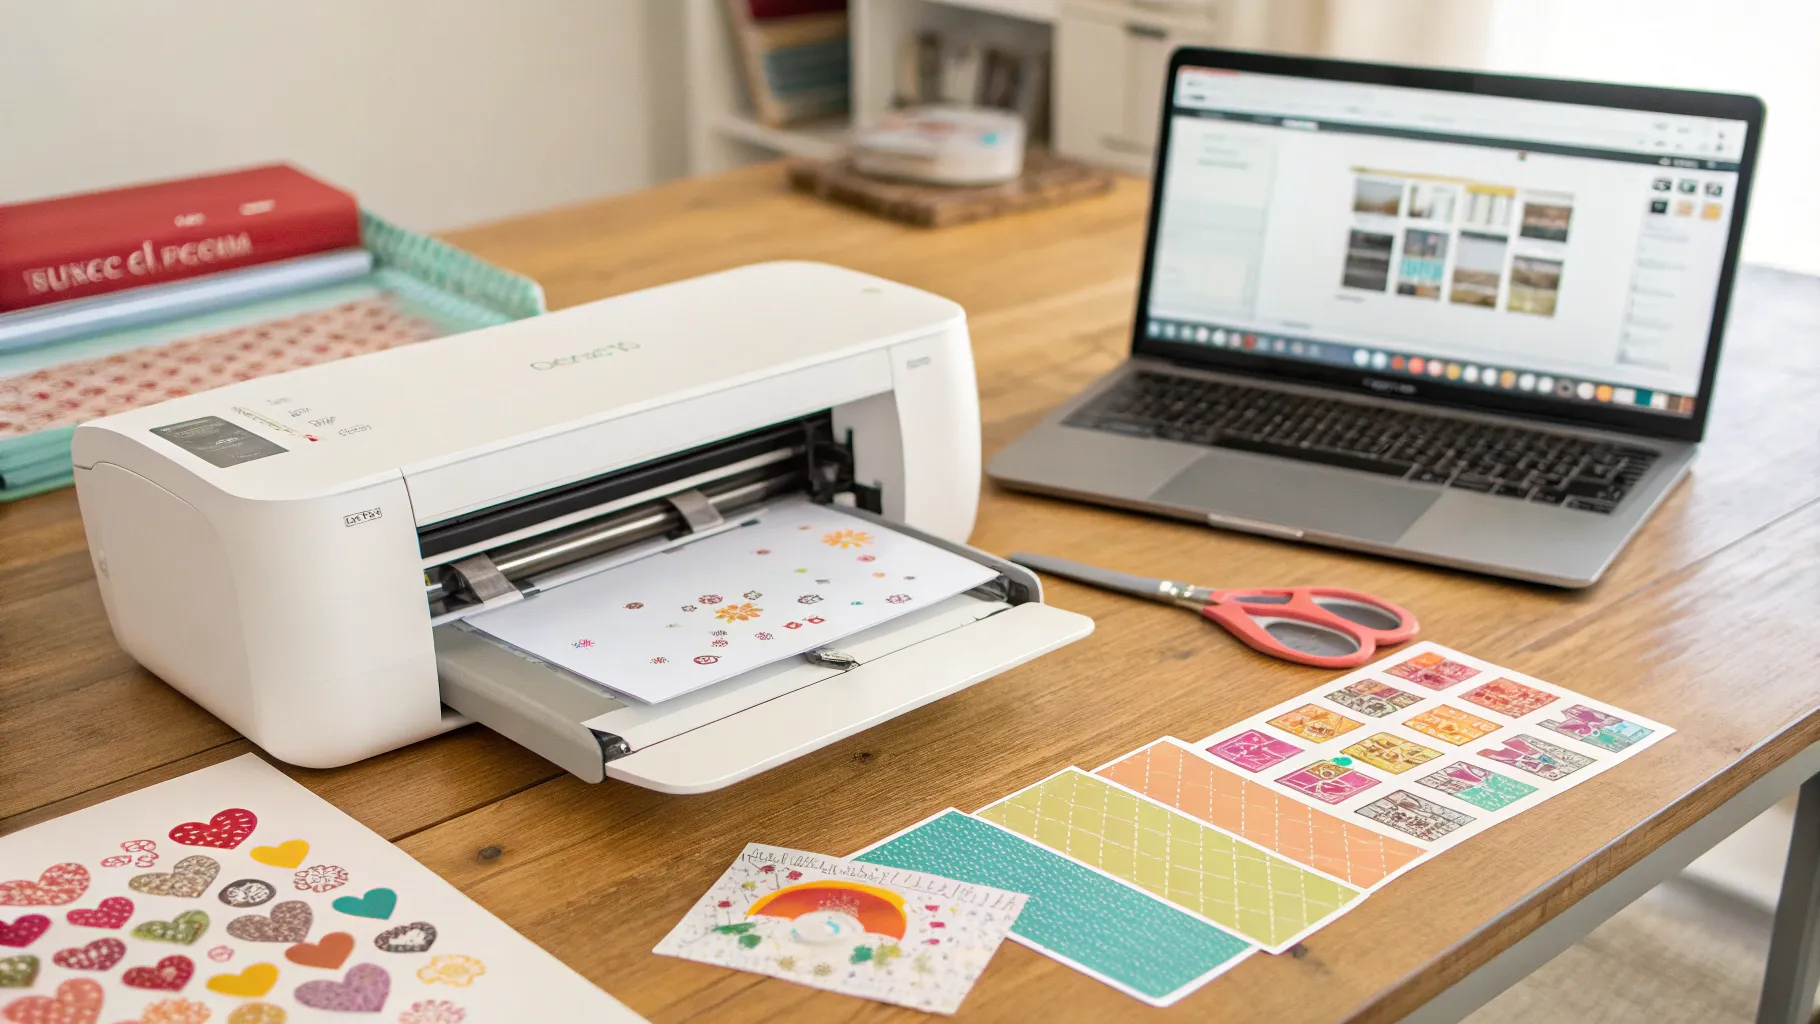
If you're looking to create custom stickers easily, the Liene Print & Cut Sticker Maker is a fantastic tool. This guide will walk you through the entire process, from setup to printing, ensuring you get the most out of your sticker-making experience.
Step 1: Unboxing and Setup 📦
When you first open your Liene Sticker Maker, you'll notice it's a bit heavy and not exactly portable. This machine is designed for stationary use. It's important to familiarize yourself with the components. You'll find that it has options for both 4x6 and 4x7 sizes, but only the 4x7 is suitable for sticker paper.
Step 2: Understanding the Paper Sizes 📄
The Liene maker uses two sizes of paper: 4x6 and 4x7. The 4x6 is just plain photo paper, while the 4x7 is specifically sticker paper. Make sure you use the correct type because the machine won’t print stickers on the 4x6 paper.
When loading the paper, place the shiny side facing up and the sticker side facing down. The machine has a plastic stopper that helps fit the 4x6 or 4x7 paper correctly. Remember, if you’re not printing, store the paper in the top compartment, but for printing, use the bottom compartment.
Step 3: Powering Up and Connecting 🔌
To turn on the machine, hold the power button for three seconds. After it powers on, connect it to your phone or iPad via Bluetooth. Download the Liene app on your device, as this will be crucial for controlling the sticker-making process.
Step 4: Choosing Your Paper Type 📏
Once connected, you’ll be prompted to choose between 4x7 sticker paper and 4x6 photo paper. Remember, only the 4x7 option will allow you to create actual stickers. Selecting the right option here is essential, or you’ll end up with just a photo print.
Step 5: Designing Your Stickers 🎨
The Liene app provides several templates for stickers, but many users find them lacking in creativity. You can also start from scratch by uploading your own designs. If you choose a template, ensure it fits well within the dimensions of the sticker paper.
To adjust the size of your design, grab the corner of the image and pull it to resize. Make sure to keep your designs within the printable area. Once satisfied, hit the "Make It Now" button, and the app will prepare your design for printing.
Step 6: Printing Your Stickers 🖨️
After you’ve confirmed your design, the app will ask if you’re ready to print. Make sure the correct paper size is loaded, then proceed. The machine will print each design one by one, and you’ll see a preview on your device.
One thing to keep in mind is that the app can be a bit finicky. If your phone accidentally gets tapped or if you exit the app, the printing process may halt, causing paper jams. So, stay focused while the machine does its work!
Step 7: Cutting Your Stickers ✂️
Once printed, the machine will automatically cut each piece. It operates quietly compared to other sticker makers, making it a pleasant experience. The finished stickers should feel sturdy and professional-grade, but be cautious; they may not stick well to all surfaces.
Step 8: Troubleshooting Common Issues ⚙️
As with any technology, you might encounter some hiccups. If your stickers are not cutting properly, ensure that your designs are properly sized and that the paper is loaded correctly. If the machine jams, check for any misalignment or if the paper is sticking out too much.
Step 9: Storing and Ordering Supplies 🛒
After you're done, store your stickers carefully. If you want to create more stickers in the future, you can order additional 4x7 sticker paper and ink cartridges. The Liene machine typically comes with enough supplies for multiple sticker sheets, but having extra on hand is a good idea.
Step 10: Share Your Creations! 📢
Now that you've mastered the Liene Sticker Maker, it’s time to share your creations. Whether you’re using them for personal projects, gifts, or even to sell, the possibilities are endless. Don’t forget to tag your stickers on social media to inspire others!
Conclusion 🎉
The Liene Print & Cut Sticker Maker is an excellent tool for anyone looking to delve into the world of sticker making. With this step-by-step guide, you can confidently create beautiful stickers that showcase your creativity. Happy crafting!
For more tips and tricks on design and crafting, check out our resources on Pretty Fabulous Designs!
Return To Blog
Blog Posts
Pretty Fabulous YouTube Channel
It's LIVE + FREE
AI Selfies 101
Never waste thousands of $$ on a photoshoot ever again
Give yourself an AI photoshoot to match any branding you have!