- Mar 22, 2022
TUTORIAL Extracting Fonts From Images in Adobe Indesign 2022
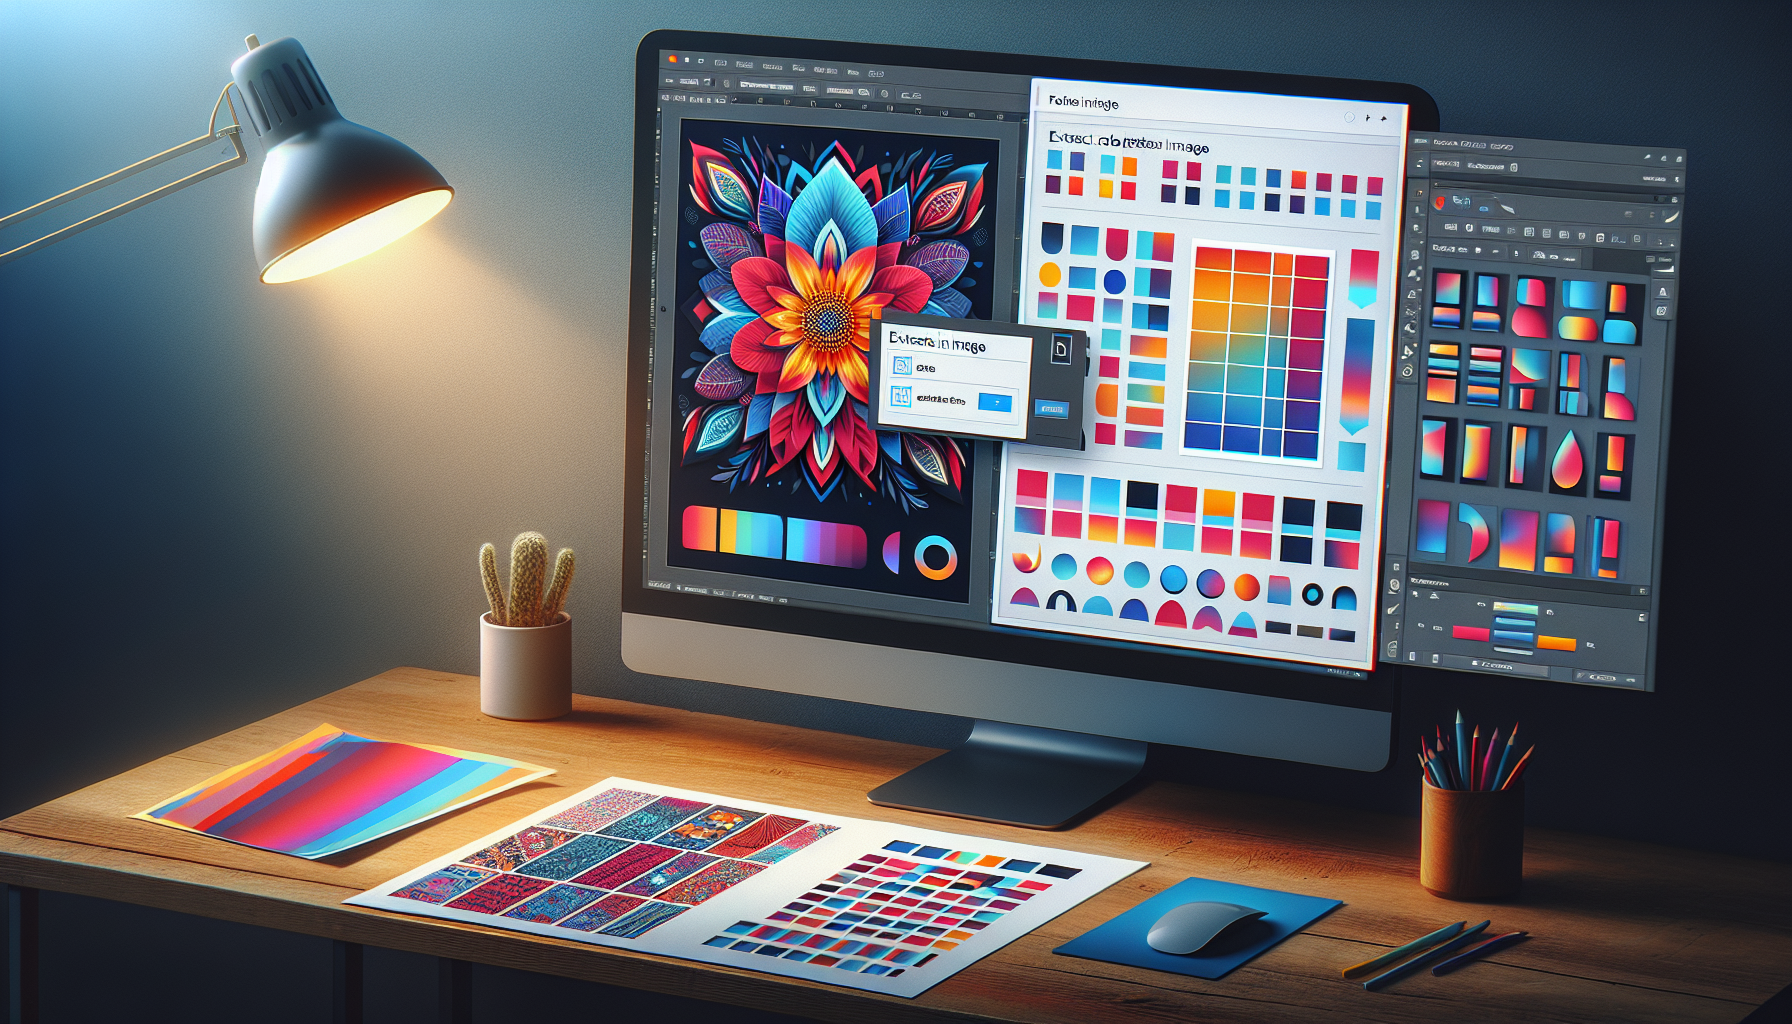
Extracting Fonts and Colors From Images in Adobe InDesign 2022
Step 1: Open Your Document 📂
To get started, open Adobe InDesign and create a new document. The size of the document doesn't matter because we're just going to drop an image in and extract information from it. I usually open an 8.5 by 11 document as my standard size.
Step 2: Insert Your Image 🖼️
Next, drag and drop the image you want to use into the document. You can also use the File > Place option. Position the image on your document; remember, the placement doesn't matter as we're extracting information from it.
Step 3: Extract Font From Image 🅰️
Right-click on the image and select "Extract from Image." This new feature is only available in the latest version of Adobe InDesign. If you have an older version, this feature might not be available.
Choose "Extract Type" to identify the font in the image. A pop-up window will appear, allowing you to place a selection around the text you want to extract. Highlight the text and click "Find Similar Fonts."
InDesign will then display a list of similar fonts. Choose the font you like, and save it to your Creative Cloud (CC) library.
Step 4: Use Extracted Fonts ✍️
To use the extracted font, select the Type Tool and create a text box. Type your desired text and highlight it. Go to your font list and look for the font you saved. Select it, and apply any necessary formatting like size and color.
Step 5: Extract Color Palette 🎨
If you like the colors in the image, you can extract the color palette as well. Right-click on the image again and select "Extract from Image" followed by "Color Themes."
A window will pop up showing a color palette with five colors extracted from the image. You can choose variations like Bright, Muted, Dark, or Deep to adjust the palette to your liking. Save the palette to your CC library.
Step 6: Use Extracted Colors 🌈
To use the extracted colors, go to the CC library panel. If you can't see it, go to Window > CC Libraries and make sure it's checked. Your saved color palette will appear here, ready for use in your projects.
Step 7: Extract Shapes From Image 🔺
You can also extract shapes from an image. Right-click on the image and select "Extract from Image" followed by "Shapes." This feature converts identifiable shapes in the image into vector shapes.
Note that this feature works best with clear, distinct shapes. If the image is complex or has a lot of similar colors, the shape extraction might not be accurate. Adjust the selection area to refine the shapes you want to extract.
Step 8: Use Extracted Shapes 🔳
Once extracted, you can use these shapes as you would any other vector shapes in InDesign. They can be resized, recolored, and modified to fit your design needs.
Step 9: Troubleshooting Common Issues 🛠️
If you don't see the CC library panel or any other panel, go to the Window menu and ensure there's a checkmark next to the panel you need. This will make the panel visible on your workspace.
If the font or color extraction isn't accurate, try using a higher resolution image or adjusting the selection area. Sometimes, small tweaks can significantly improve the results.
Step 10: Final Touches ✨
After extracting and using the fonts, colors, and shapes, review your design to ensure everything looks cohesive. Make any necessary adjustments to align with your vision.
Remember, these tools are designed to streamline your workflow and provide inspiration. Feel free to experiment with different images and settings to see what works best for you.
Conclusion 🌟
Adobe InDesign's new features for extracting fonts, colors, and shapes from images are incredibly powerful. They save time and provide creative flexibility, allowing you to incorporate elements you love from various sources into your designs seamlessly.
Whether you're redesigning a website, creating digital downloads, or just exploring new design possibilities, these tools can significantly enhance your workflow. Happy designing!
Return To Blog
Blog Posts
Pretty Fabulous YouTube Channel
It's LIVE + FREE
AI Selfies 101
Never waste thousands of $$ on a photoshoot ever again
Give yourself an AI photoshoot to match any branding you have!