- Mar 29, 2022
TUTORIAL How To Place An Image or Pattern Into Text in Adobe Indesign
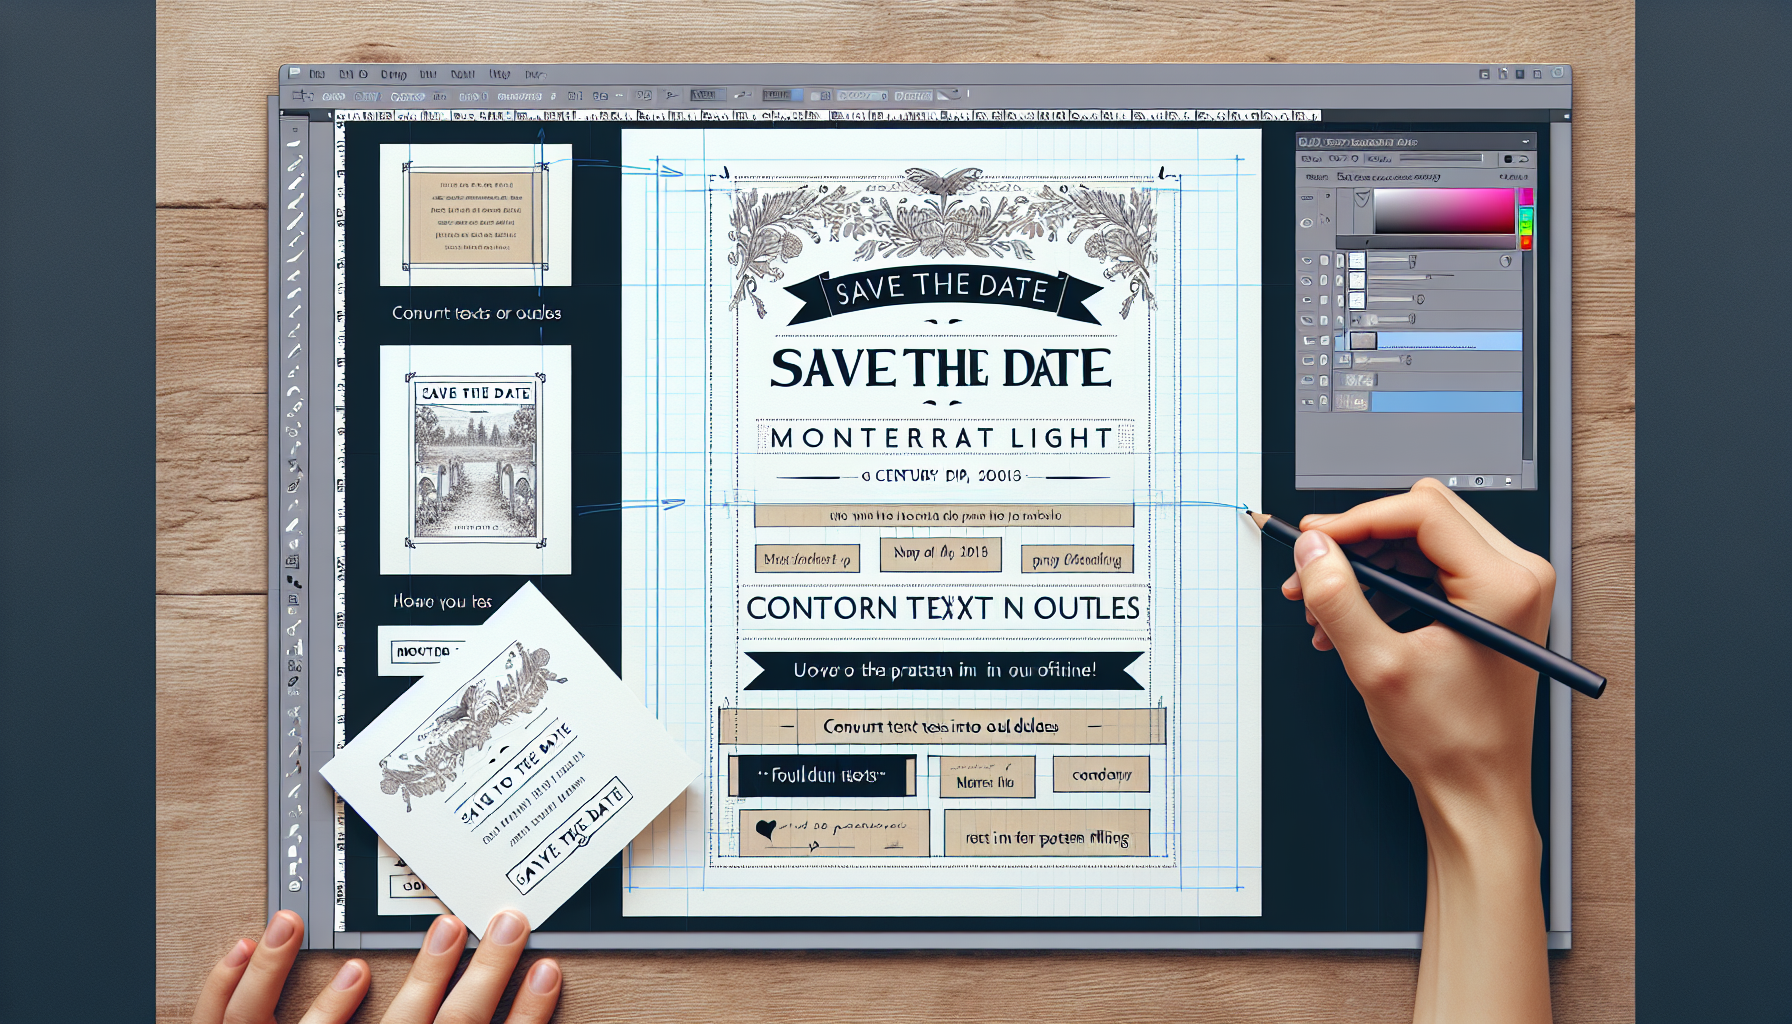
How to Place an Image or Pattern into Text in Adobe InDesign
Step 1: 📏 Create a New Document
To start, we need to create a new document in Adobe InDesign. Go to File and select New Document. Change the unit to inches and set the dimensions to 5x7 inches, which is a standard size for wedding save the date cards.
Ensure the orientation is set to portrait and uncheck the Facing Pages option. Set all margins to zero and the bleed to 0.125 inches, which is a standard bleed size for most printers. Ignore the slug and click Create to generate your new document.
Step 2: 🖼️ Add Your Background
Next, we need to add a background image to our document. I created a background in Photoshop, but you can use any image you like. To add the background, go to File, select Place, and choose your background image.
Align the image with the edges of your document, making sure it covers the entire bleed area. This ensures that when the card is printed, there won’t be any white edges.
Step 3: 🔤 Add Text Boxes
Now, it's time to add text. Create text boxes for each line of text you want to include. This allows you to resize and move each line independently. Center-align your text boxes for a balanced look.
Here’s the text we’ll be using:
Save the Date
Caitlin and Edward
Are Getting Married
September
16
2025
Invitation to Follow
Step 4: 🎨 Format Your Text
Formatting your text is crucial for a polished look. For the “Save the Date” text, I used the Montserrat Light font. Adjust the font size and kerning to your liking. I usually eyeball it to ensure it looks good visually.
For the names and other details, I used Century Schoolbook, a free font. Make the text all caps and adjust the font size to fit your design. Ensure all text is aligned and spaced evenly.
Step 5: 📐 Align Everything
Use the ruler guides to ensure all your text is perfectly aligned. Click and drag from the ruler on the left to create vertical guides. Align your text boxes with these guides to ensure everything is centered and evenly spaced.
Step 6: ✏️ Convert Text to Outlines
To place an image or pattern inside text, we first need to convert the text to outlines. Select the text you want to convert, go to Type, and choose Create Outlines. This changes the text into a shape that can be filled with an image or pattern.
Step 7: 🖌️ Place Your Pattern
With your text converted to outlines, go to File and select Place to choose the pattern or image you want to place inside the text. Align the pattern with your text.
Double-click the pattern to enter the editing mode. Hold the Shift key to maintain proportions and resize the pattern to fit within the text outlines. Adjust as needed to ensure the pattern fills the text evenly.
Step 8: 🌈 Add an Outline
To make the text stand out, add an outline. Select the outlined text and go to the Stroke panel. Choose a color that complements your design and adjust the stroke weight to your liking.
If you want a lighter outline, adjust the tint to a lower percentage. This creates a subtle, cohesive look that ties in with the rest of your design.
Step 9: ✅ Final Adjustments
Make any final adjustments to ensure everything is aligned and looks good. Use the W key to toggle between preview and normal mode to see how your design will look when printed.
Check for any overlapping text or elements and adjust as needed. Ensure all text is readable and the design is balanced.
Step 10: 💾 Save and Export
Once you’re happy with your design, save your InDesign file. Go to File and select Save As to save your project. To export for printing, go to File and choose Export. Select the appropriate format, such as PDF, and ensure you include the bleed area.
Review your exported file to ensure everything looks good. Your save the date card is now ready for printing!
Conclusion: 🎉 Enjoy Your Custom Design
Congratulations! You’ve successfully placed an image or pattern into text using Adobe InDesign. This technique adds a unique and professional touch to your designs, perfect for wedding invitations, save the date cards, and more.
Remember to experiment with different fonts, patterns, and colors to create a design that truly reflects your style. Happy designing!
Return To Blog
Blog Posts
Pretty Fabulous YouTube Channel
It's LIVE + FREE
AI Selfies 101
Never waste thousands of $$ on a photoshoot ever again
Give yourself an AI photoshoot to match any branding you have!