- Mar 22, 2023
TUTORIAL Undated Weekly Planner in Adobe InDesign
Create an Undated Weekly Planner in Adobe InDesign
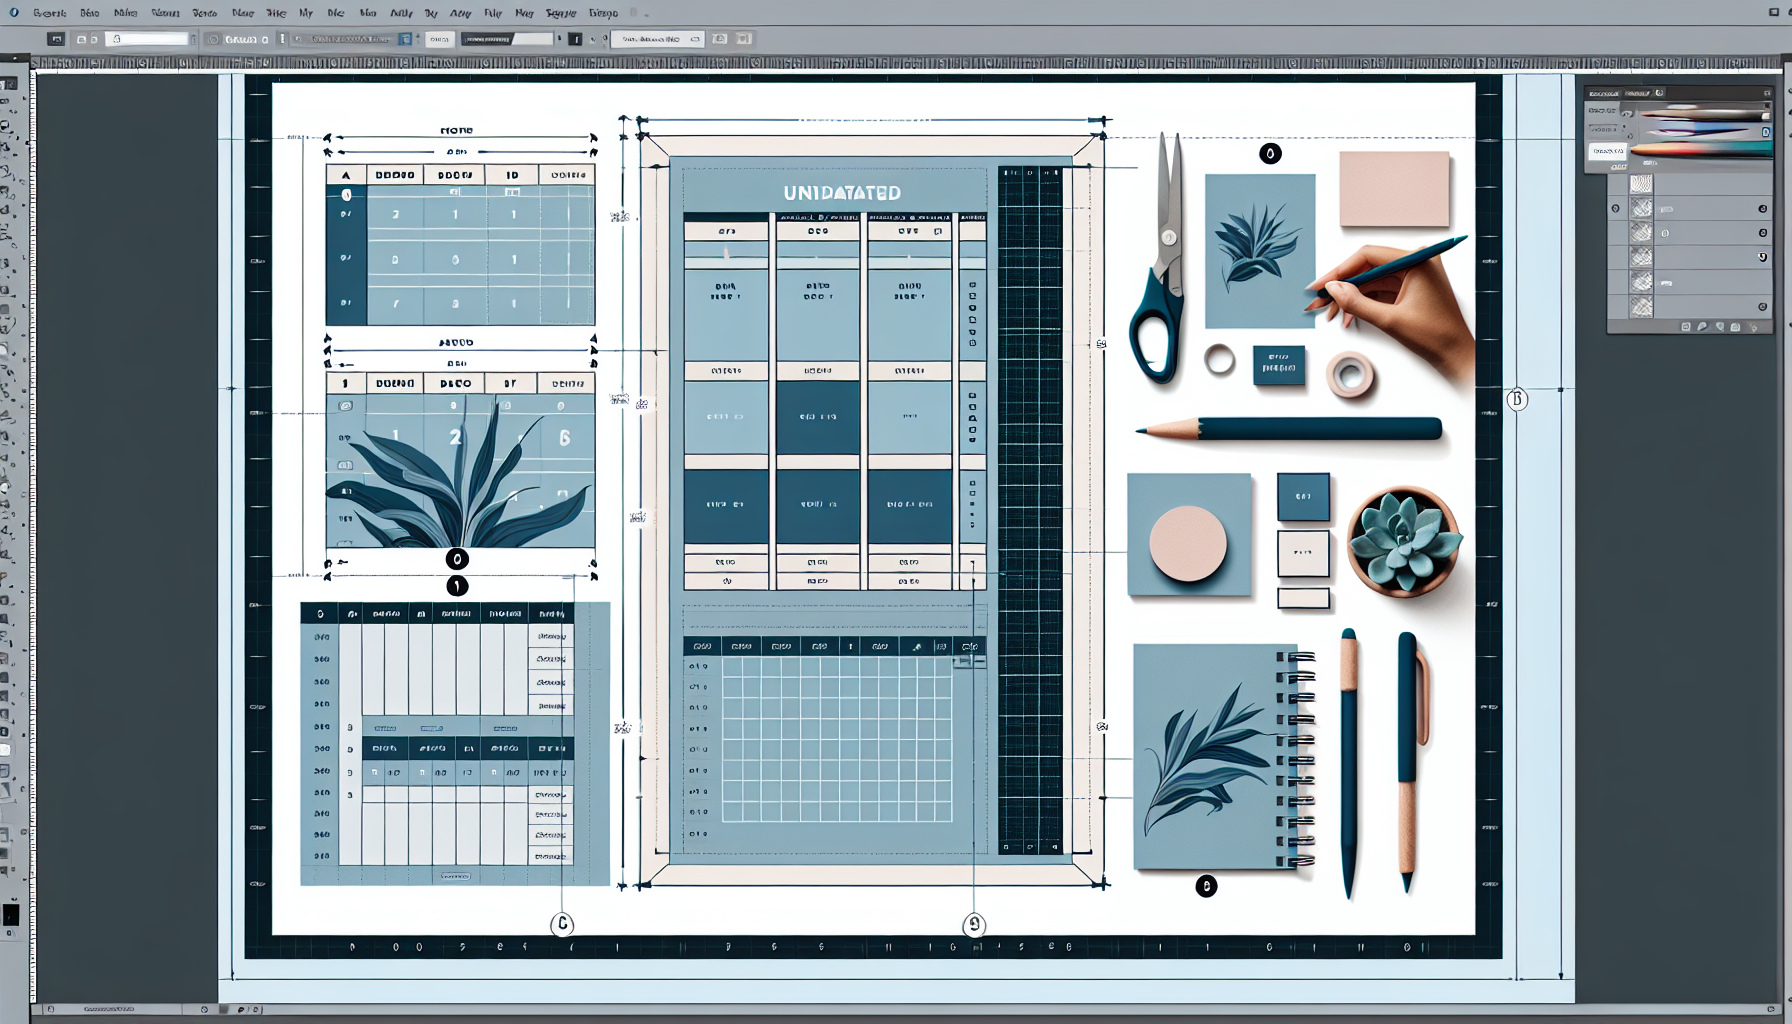
In this step-by-step tutorial, you'll learn how to create a beautiful and functional undated weekly planner layout using Adobe InDesign. We'll cover everything from setting up the document to adding stylish design elements to make your planner stand out.
📄 Step 1: Create a New Document
Let's kick things off by creating a new document in Adobe InDesign. This document will be the foundation for your undated weekly planner.
Open a New Document
First, navigate to File > New > Document. A new window will pop up with various settings.
Set the Dimensions
Change the unit of measurement to inches and set the dimensions to 8.5 x 11 inches. This is a standard letter size, but you can adjust it based on your preference.
Start with One Page
For now, you only need one page. You can easily duplicate this page later to create additional planner pages.
📊 Step 2: Create a Table
Next, we'll create a table that will serve as the main structure for your weekly planner.
Insert the Table
Go to Table > Create Table. A dialog box will appear where you can set the number of rows and columns.
Set Rows and Columns
For our planner, we'll need 5 rows and 3 columns. This setup will allow us to organize the days of the week effectively.
Adjust for Symmetry
Remember, you'll have Monday, Tuesday, and Wednesday in the top row, and Thursday, Friday, and a combined box for the weekend in the bottom rows. This layout may not be perfectly symmetrical, but it works well for a weekly planner.
🎨 Step 3: Style the Table
Now that we have our table set up, it's time to make it visually appealing. A well-styled table can transform your planner from basic to beautiful.
Change Table Colors
First, let's change the color of the table to a calming blue. Select the entire table and apply a blue color to it.
Select the table
Apply blue color
Ensure all lines are blue
Adjust Line Lengths
Next, we'll adjust the line lengths to fit the text better. Shorten the lines with text and extend the bottom line to align with the table's edges.
Shorten text lines
Extend bottom line
Align with table edges
Fix Overflow Issues
If any text disappears, double-click the bounding box to fix text overflow. This will ensure all text is visible.
Double-click bounding box
Fix text overflow
Ensure text visibility
Highlight Top Row
For a polished look, fill the top row with a darker blue. This will help differentiate the days of the week from the rest of the table.
Select top row
Fill with dark blue
Differentiate from the rest
🗓️ Step 4: Add Days of the Week
With our table styled, it's time to add the days of the week. This will help you keep track of your weekly tasks and events.
Center the Text
First, center the text both horizontally and vertically. This will make your planner look neat and organized.
Select text
Center horizontally
Center vertically
Choose a Font
Select a clean, readable font like Gotham. Set the font to medium weight for better readability.
Select Gotham font
Set to medium weight
Ensure readability
Add the Days
Now, add the days of the week to the top row. Make sure to use uppercase letters for a uniform look.
Add Monday to Wednesday
Use uppercase letters
Ensure uniformity
Format Text Color
Finally, change the text color to white. This will make the text stand out against the dark blue background.
Select text color
Change to white
Ensure readability
And there you have it! Your planner now has a beautifully styled table with clearly labeled days of the week. Stay tuned for the next steps where we'll add more design elements and finalize your planner.
📑 Step 5: Duplicate the Table
Duplicating the table allows you to efficiently create a consistent layout for the rest of your planner pages.
Copy and Paste
First, select the entire table you created. Copy it and paste it at the desired location on your page.
Select the table
Copy the table
Paste it below the original
Adjust Margins
If you don't see the pink guides, add half-inch margins. Go to File > Document Setup and set the margins to half an inch.
Open document setup
Set half-inch margins
Ensure guides are visible
Update Days
Update the days of the week in the new table. For example, change "Monday" to "Thursday," "Tuesday" to "Friday," and "Wednesday" to "Weekend."
Change Monday to Thursday
Change Tuesday to Friday
Change Wednesday to Weekend
Customize the Weekend
Make the weekend section stand out by reversing the colors. Change the background to white and the text to blue.
Set background to white
Change text to blue
Differentiate the weekend
✨ Step 6: Enhance with Additional Elements
Adding extra elements like text boxes and icons can make your planner more functional and visually appealing.
Add a "Week Of" Section
Include a "Week Of" section at the top to help you keep track of each week. Add a text box and format it to match the rest of your planner.
Create a text box
Label it "Week Of"
Format with Gotham font
Include Icons
Icons can add a fun and functional element to your planner. Place an icon next to the "Week Of" text box.
Go to File > Place
Select your icon
Position it next to "Week Of"
Add a "Weekly Highlights" Section
Create a "Weekly Highlights" section to summarize key points. Use a text box and a colorful border for emphasis.
Create a text box
Label it "Weekly Highlights"
Add a blue confetti border
Format the Highlights
Format the "Weekly Highlights" text to match the rest of your planner. Use the Gotham font and ensure the text color is blue.
Set font to Gotham
Change text color to blue
Center the text
Resize and Align
Resize the bounding box of your elements to fit perfectly. Align them to ensure everything looks neat and organized.
Resize bounding boxes
Align elements
Ensure neat layout
And there you have it! You've successfully created a beautiful, functional undated weekly planner in Adobe InDesign, complete with customized days, additional sections, and stylish icons. Happy planning!
Return To Blog
Blog Posts
Pretty Fabulous YouTube Channel
It's LIVE + FREE
AI Selfies 101
Never waste thousands of $$ on a photoshoot ever again
Give yourself an AI photoshoot to match any branding you have!