- Jul 29, 2023
UNBOXING New HP Sprocket 3x4 Photo Stickers Printer vs HP Sprocket 2x3
Unboxing and Reviewing the HP Sprocket 3x4 Photo Printer
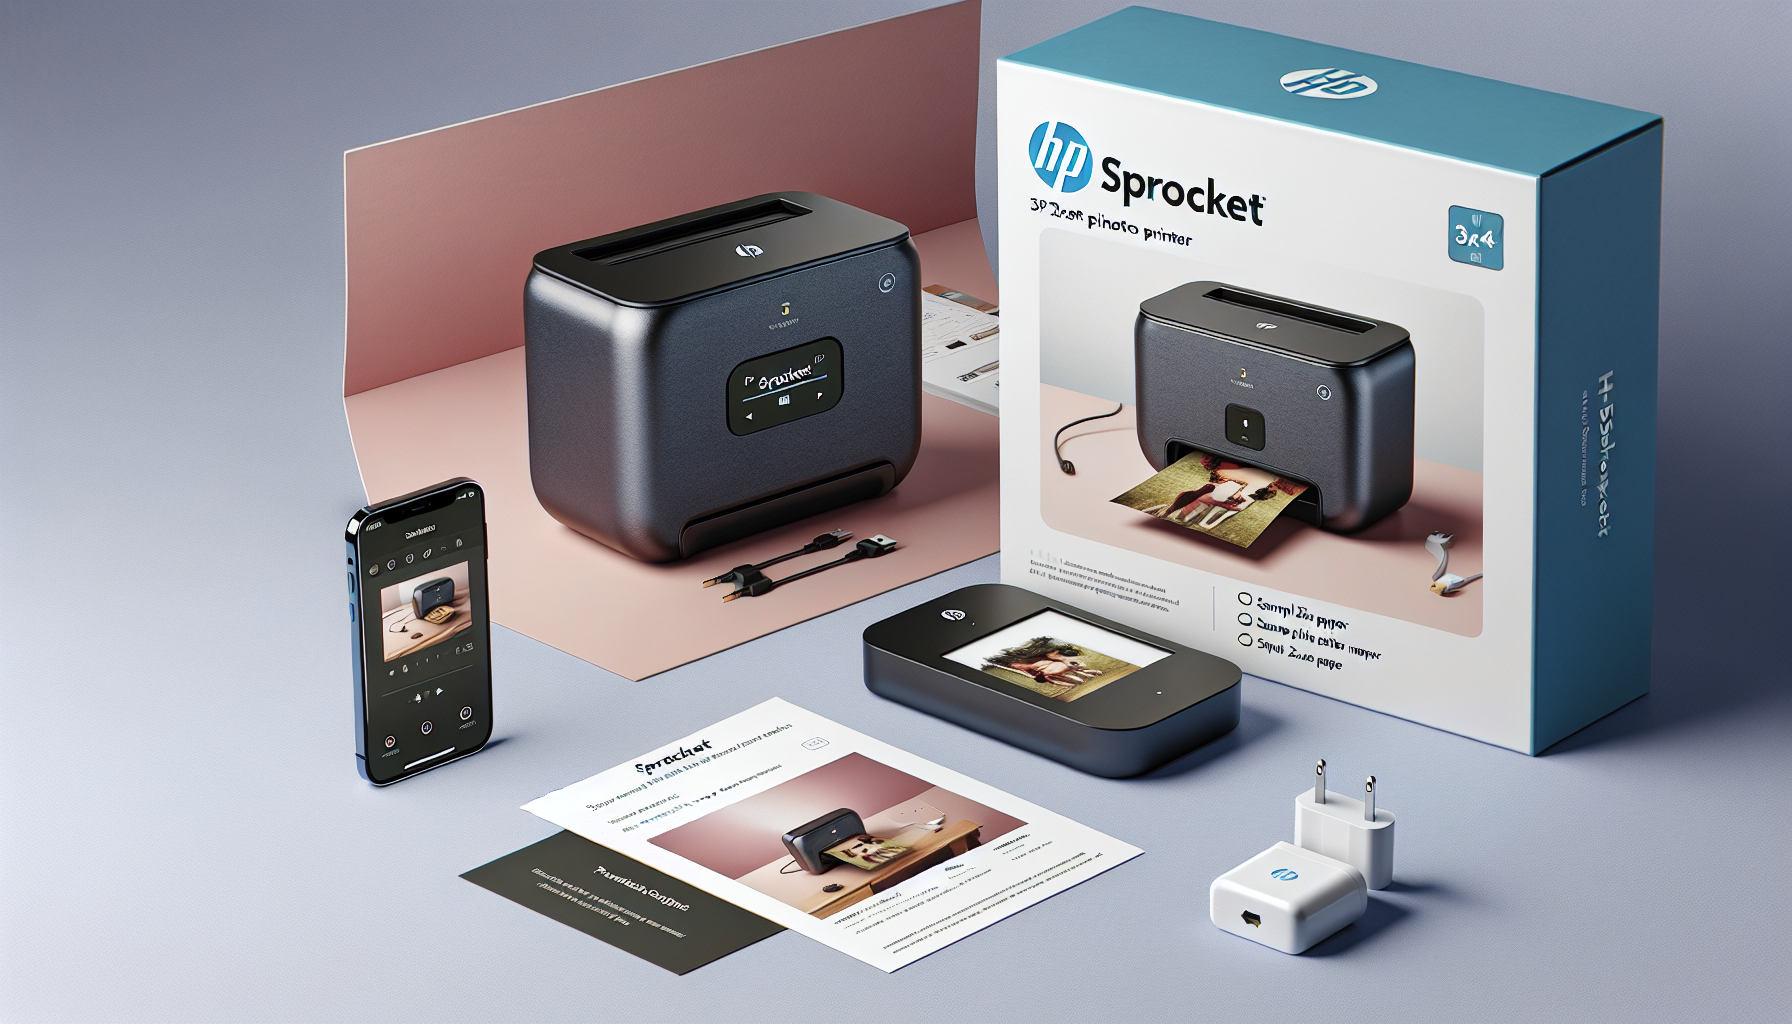
In this blog post, we'll take an in-depth look at the new HP Sprocket 3x4 photo printer and compare it to the previous 2x3 model. We'll cover the unboxing process, setup, printing quality, speed, and key features to help you decide if this larger printer is the right choice for your needs.
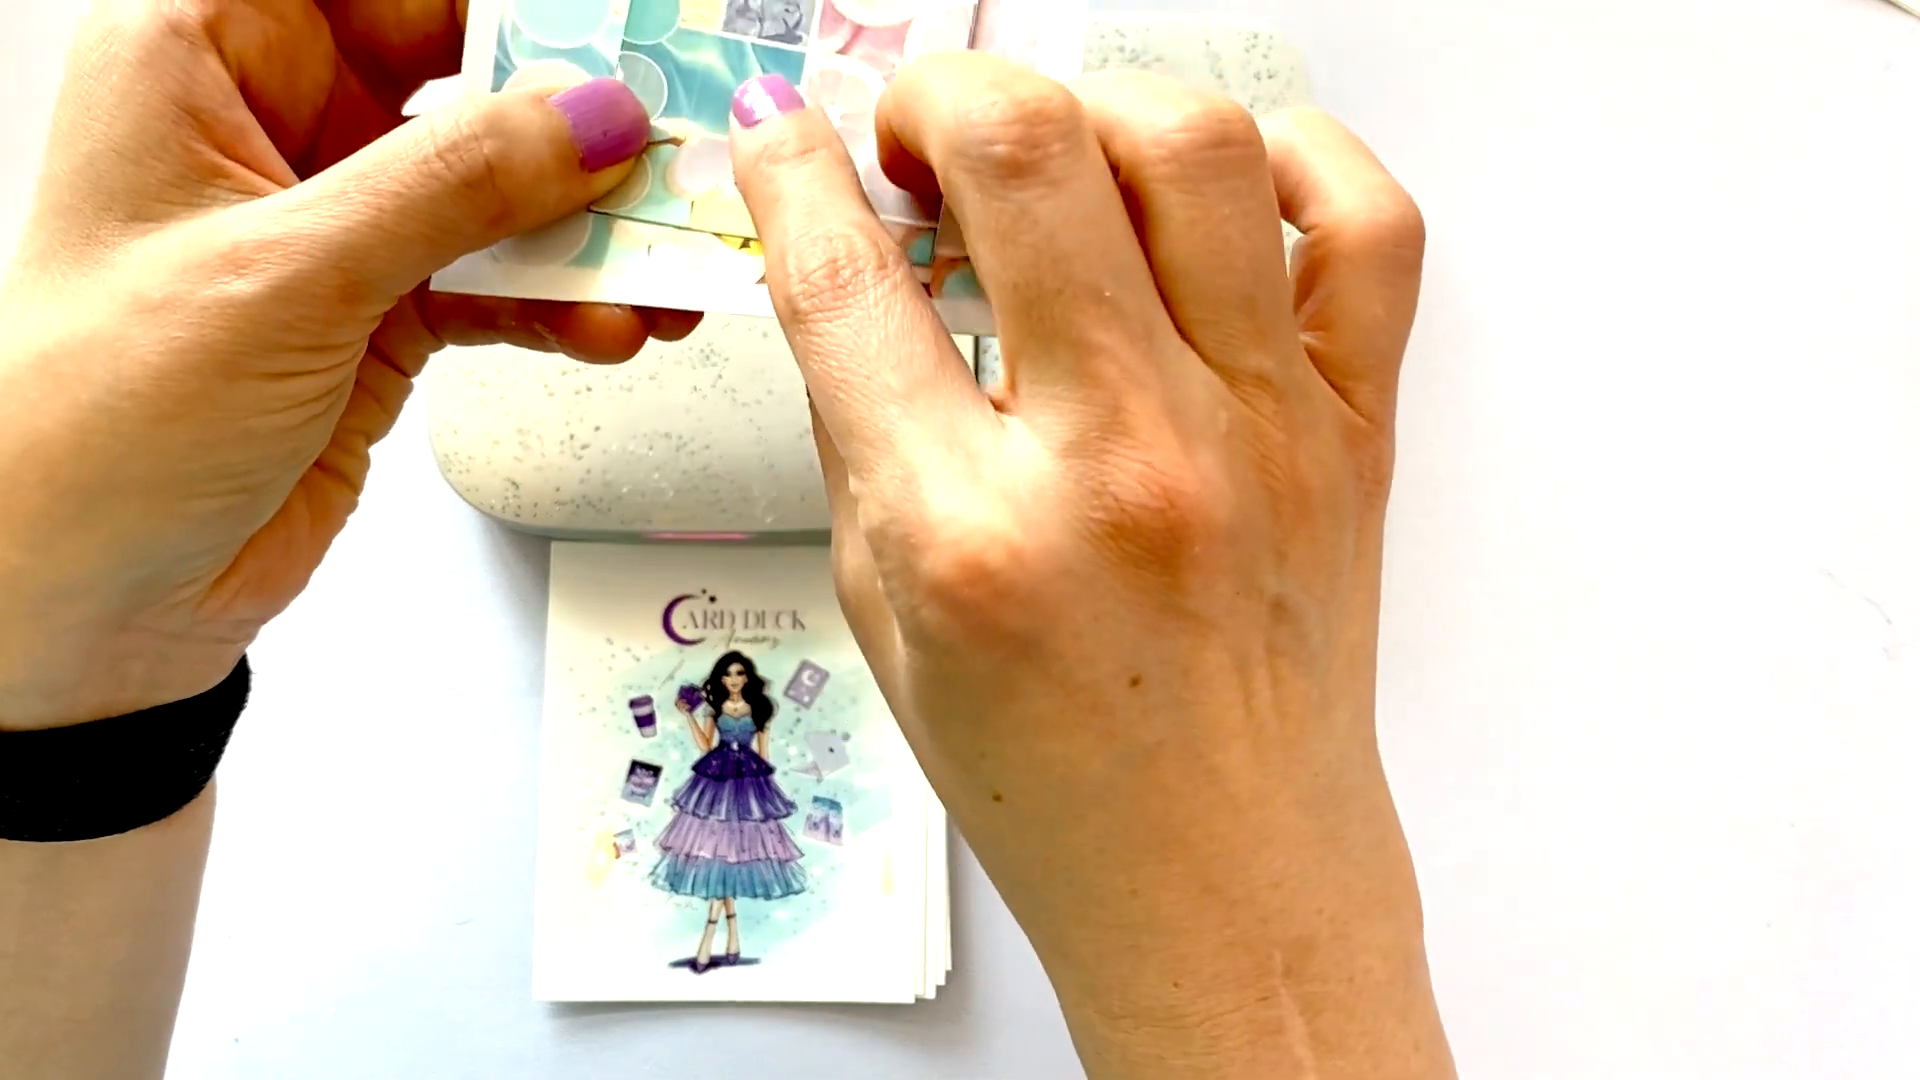
Unboxing the HP Sprocket 3x4 📦
Unboxing the HP Sprocket 3x4 is always an exciting experience. Let's see what comes inside the package.
First Impressions
Inside the box, you'll find the HP Sprocket 3x4 printer, which is significantly larger than its 2x3 counterpart. The size difference is quite noticeable, with the new printer measuring 5x6.5 inches compared to the older 3x4.5 inches model.
What's in the Box
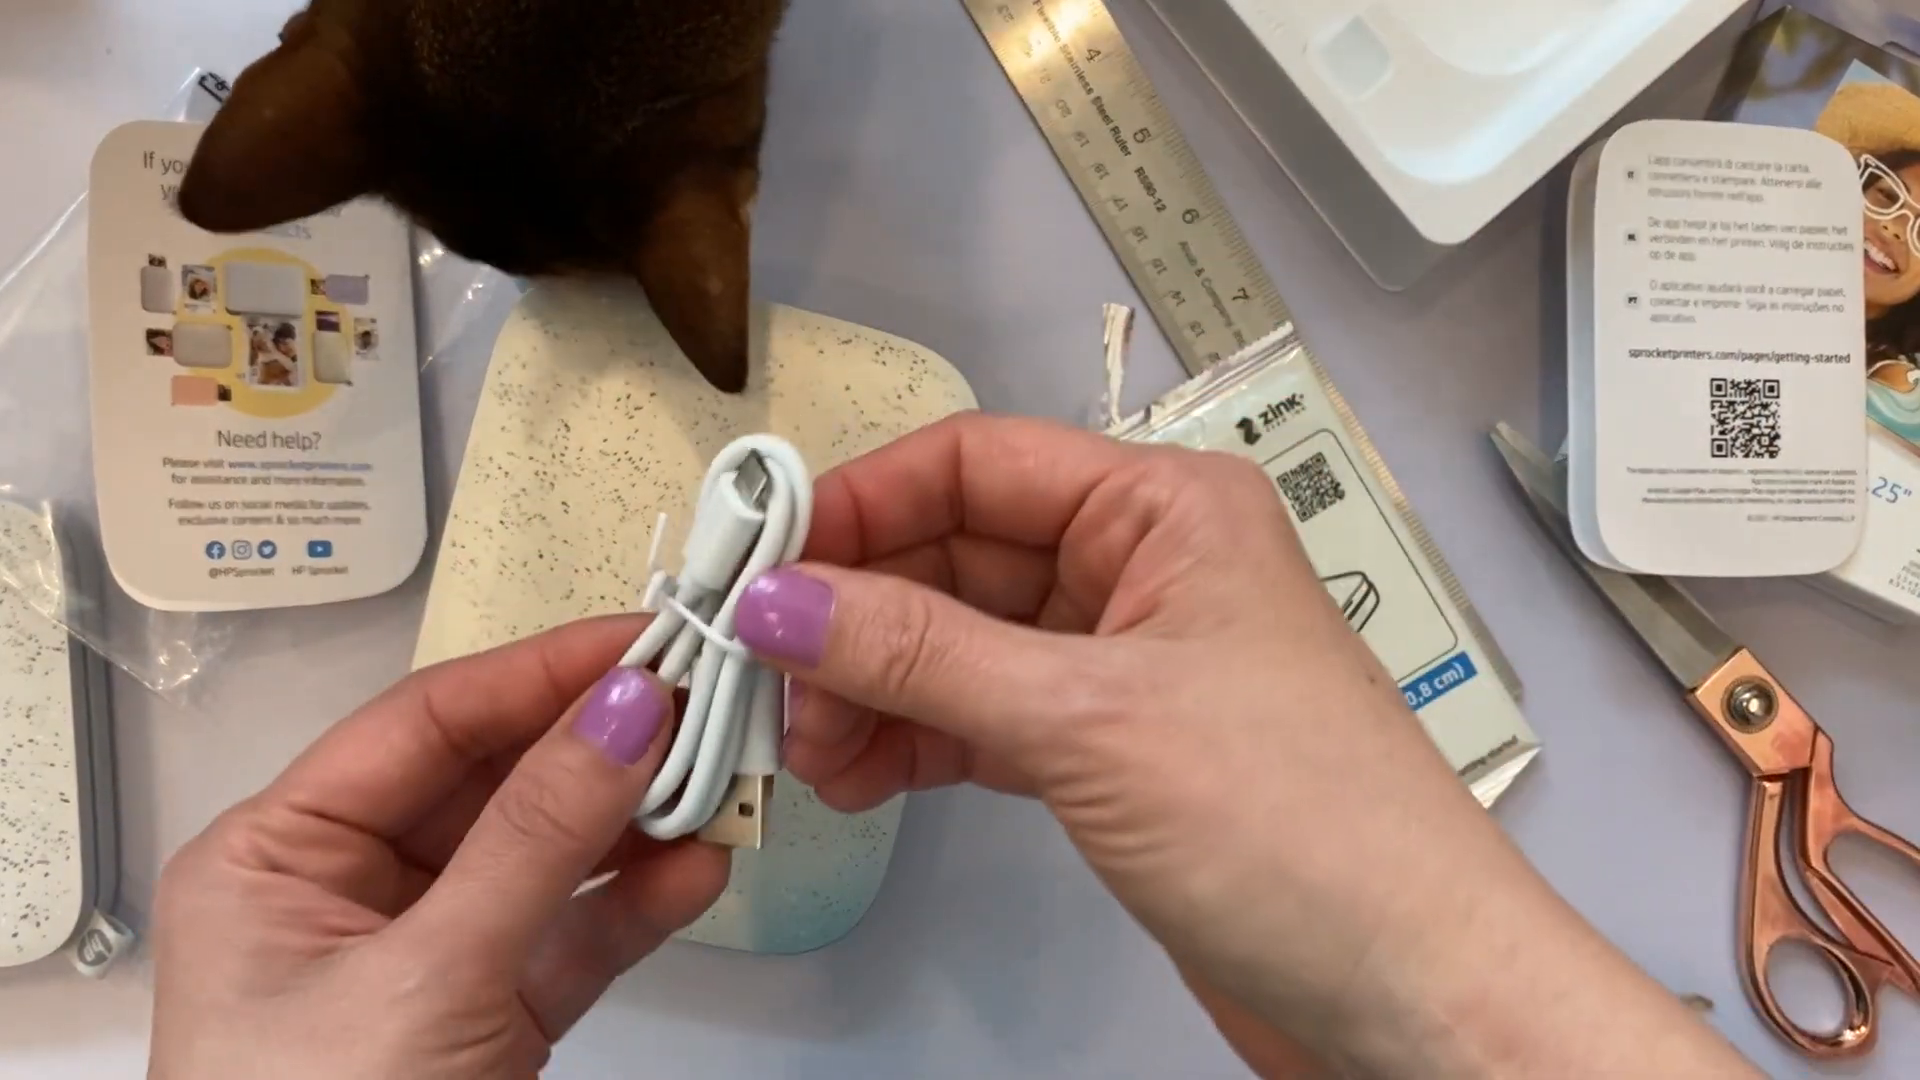
The package includes:
HP Sprocket 3x4 printer
Charger
Sample zinc paper
Quick start guide
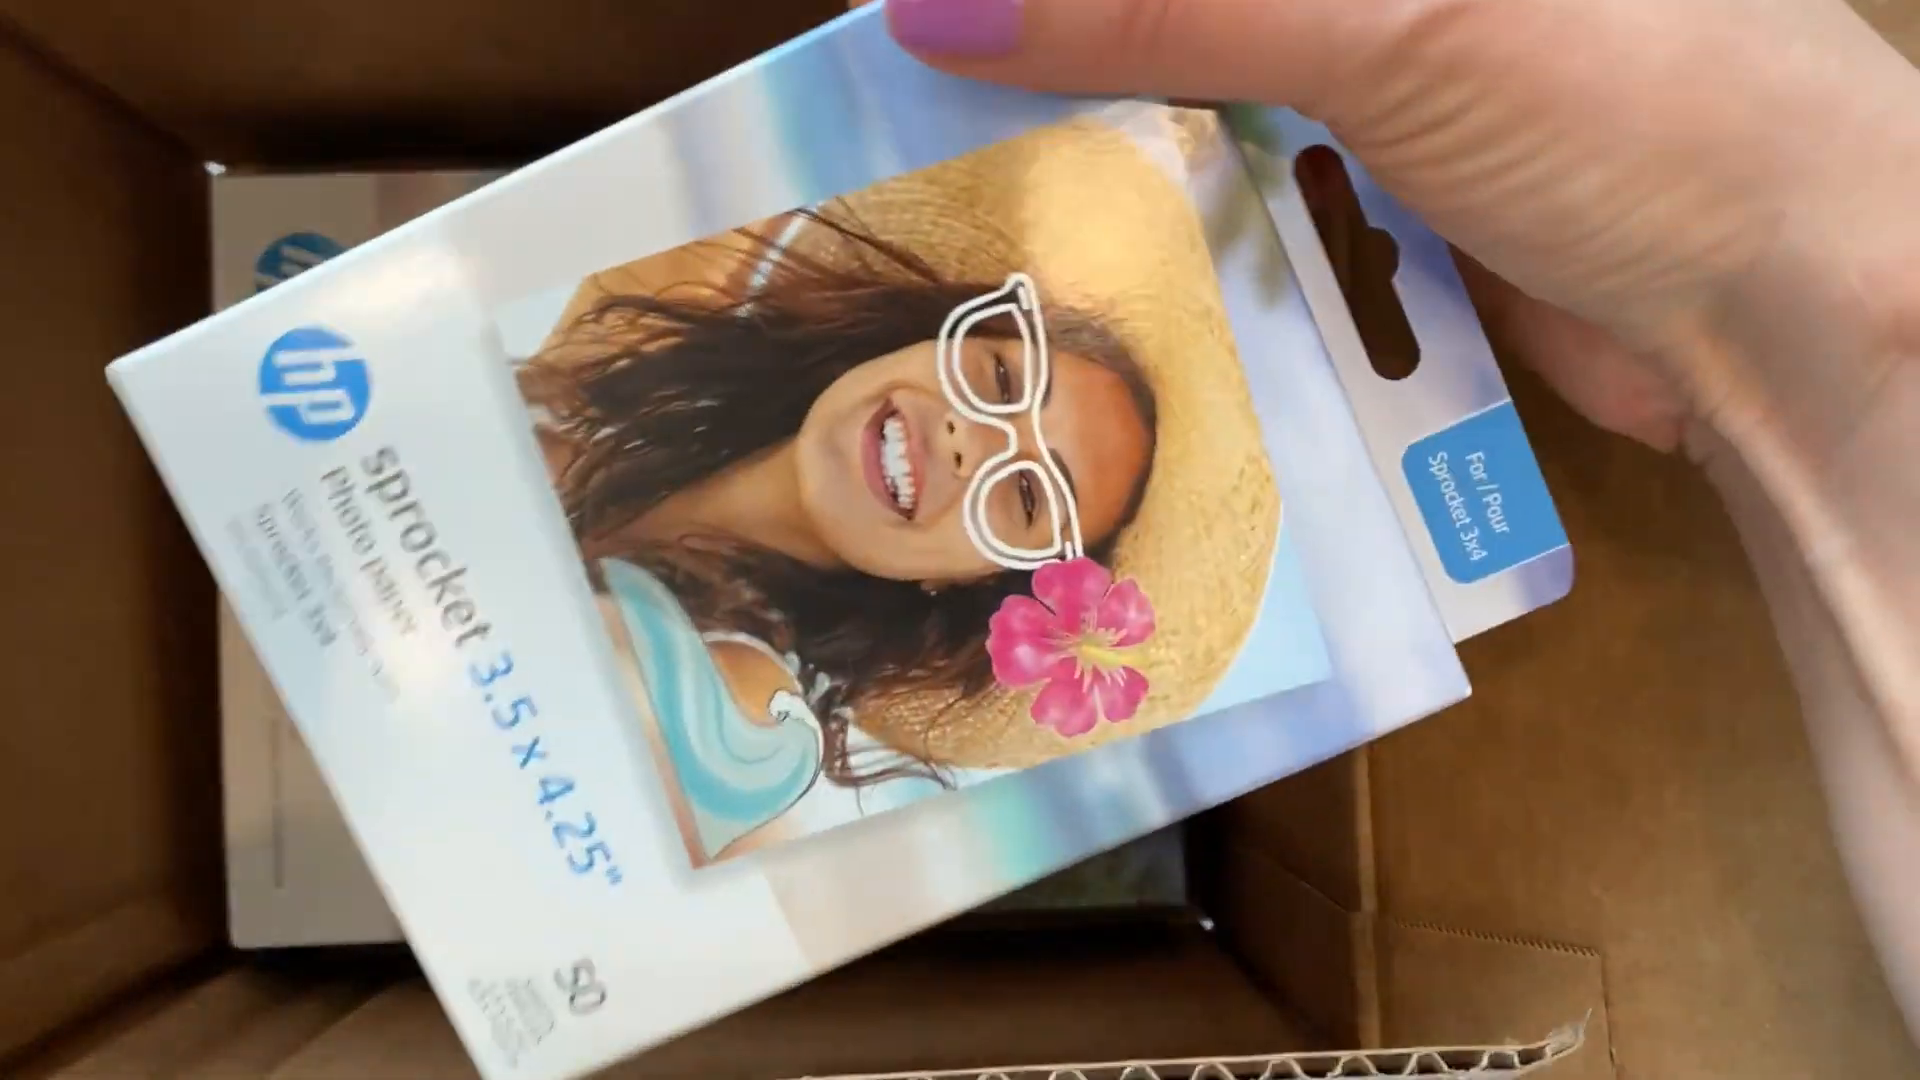
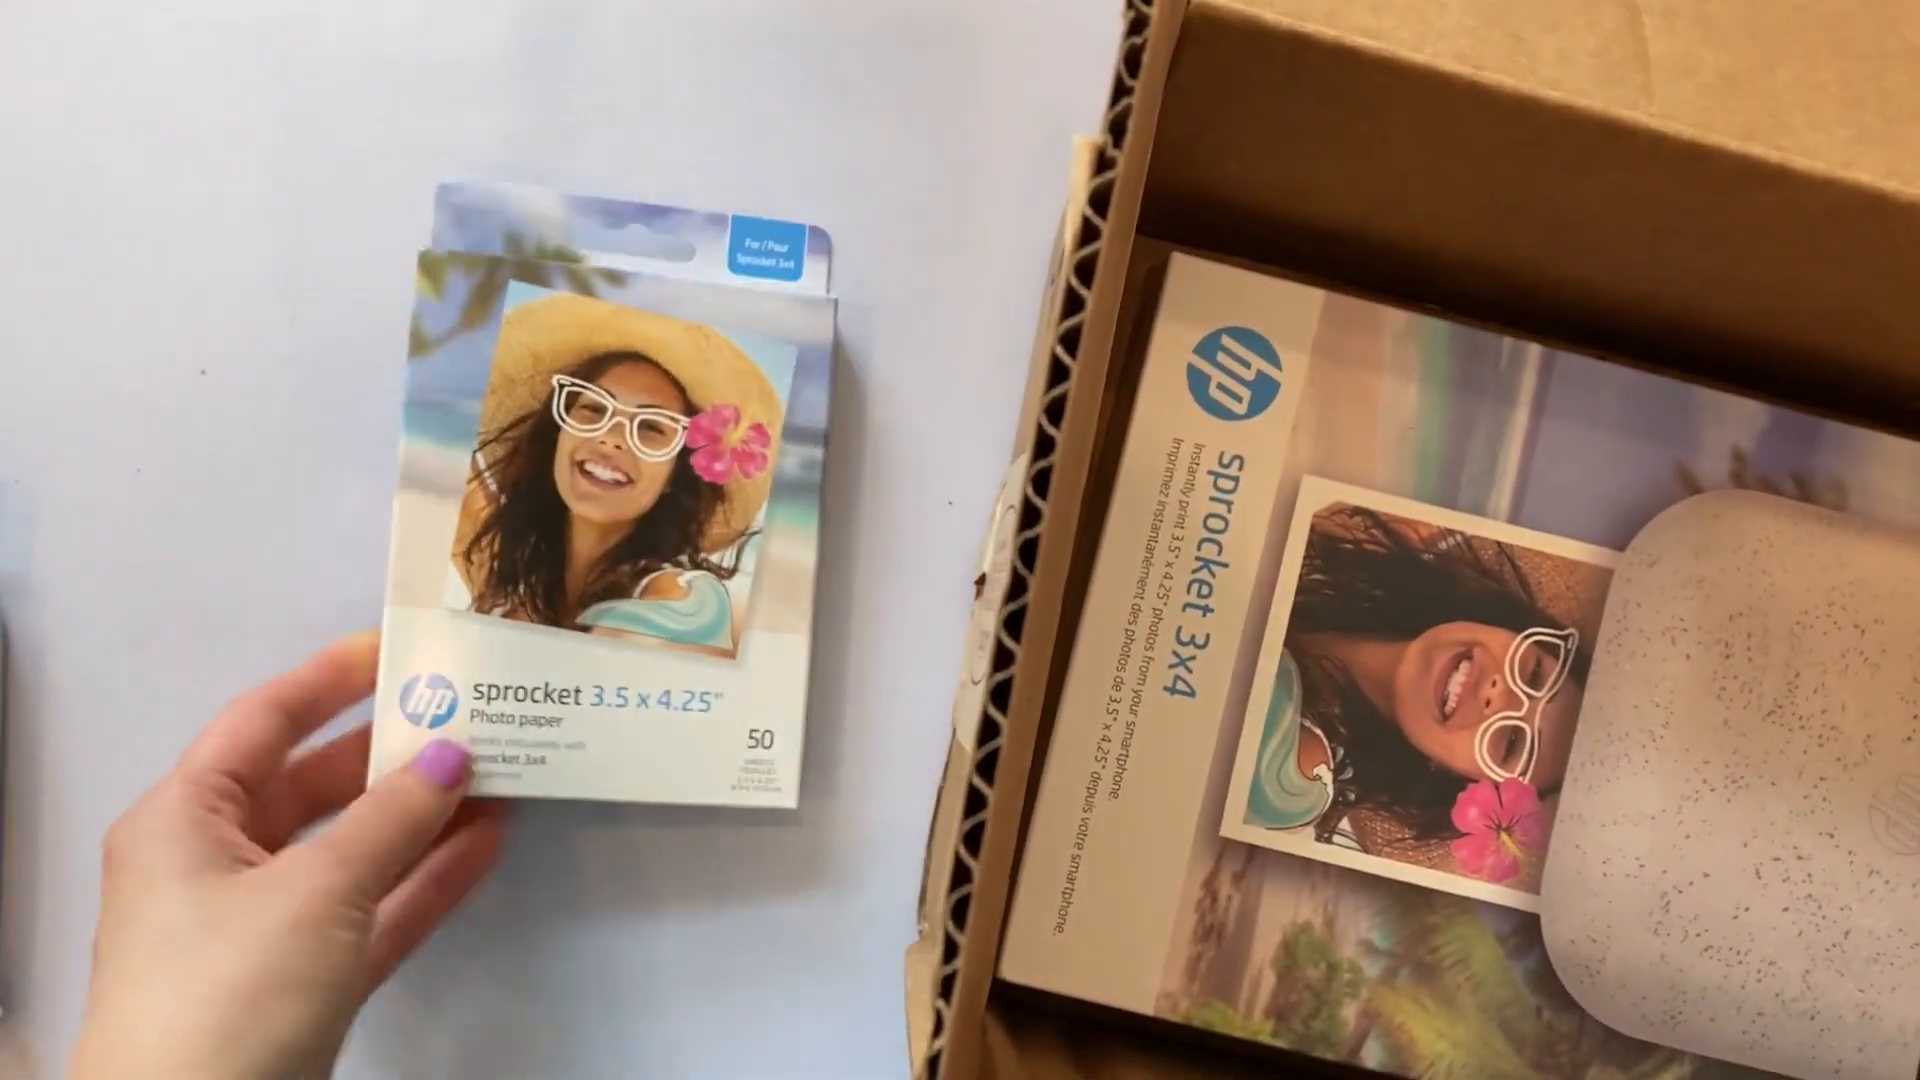
Special Zinc Paper
The printer uses special zinc paper, which has a sticker backing. This paper is quite expensive but offers the convenience of being able to stick your printed photos anywhere.
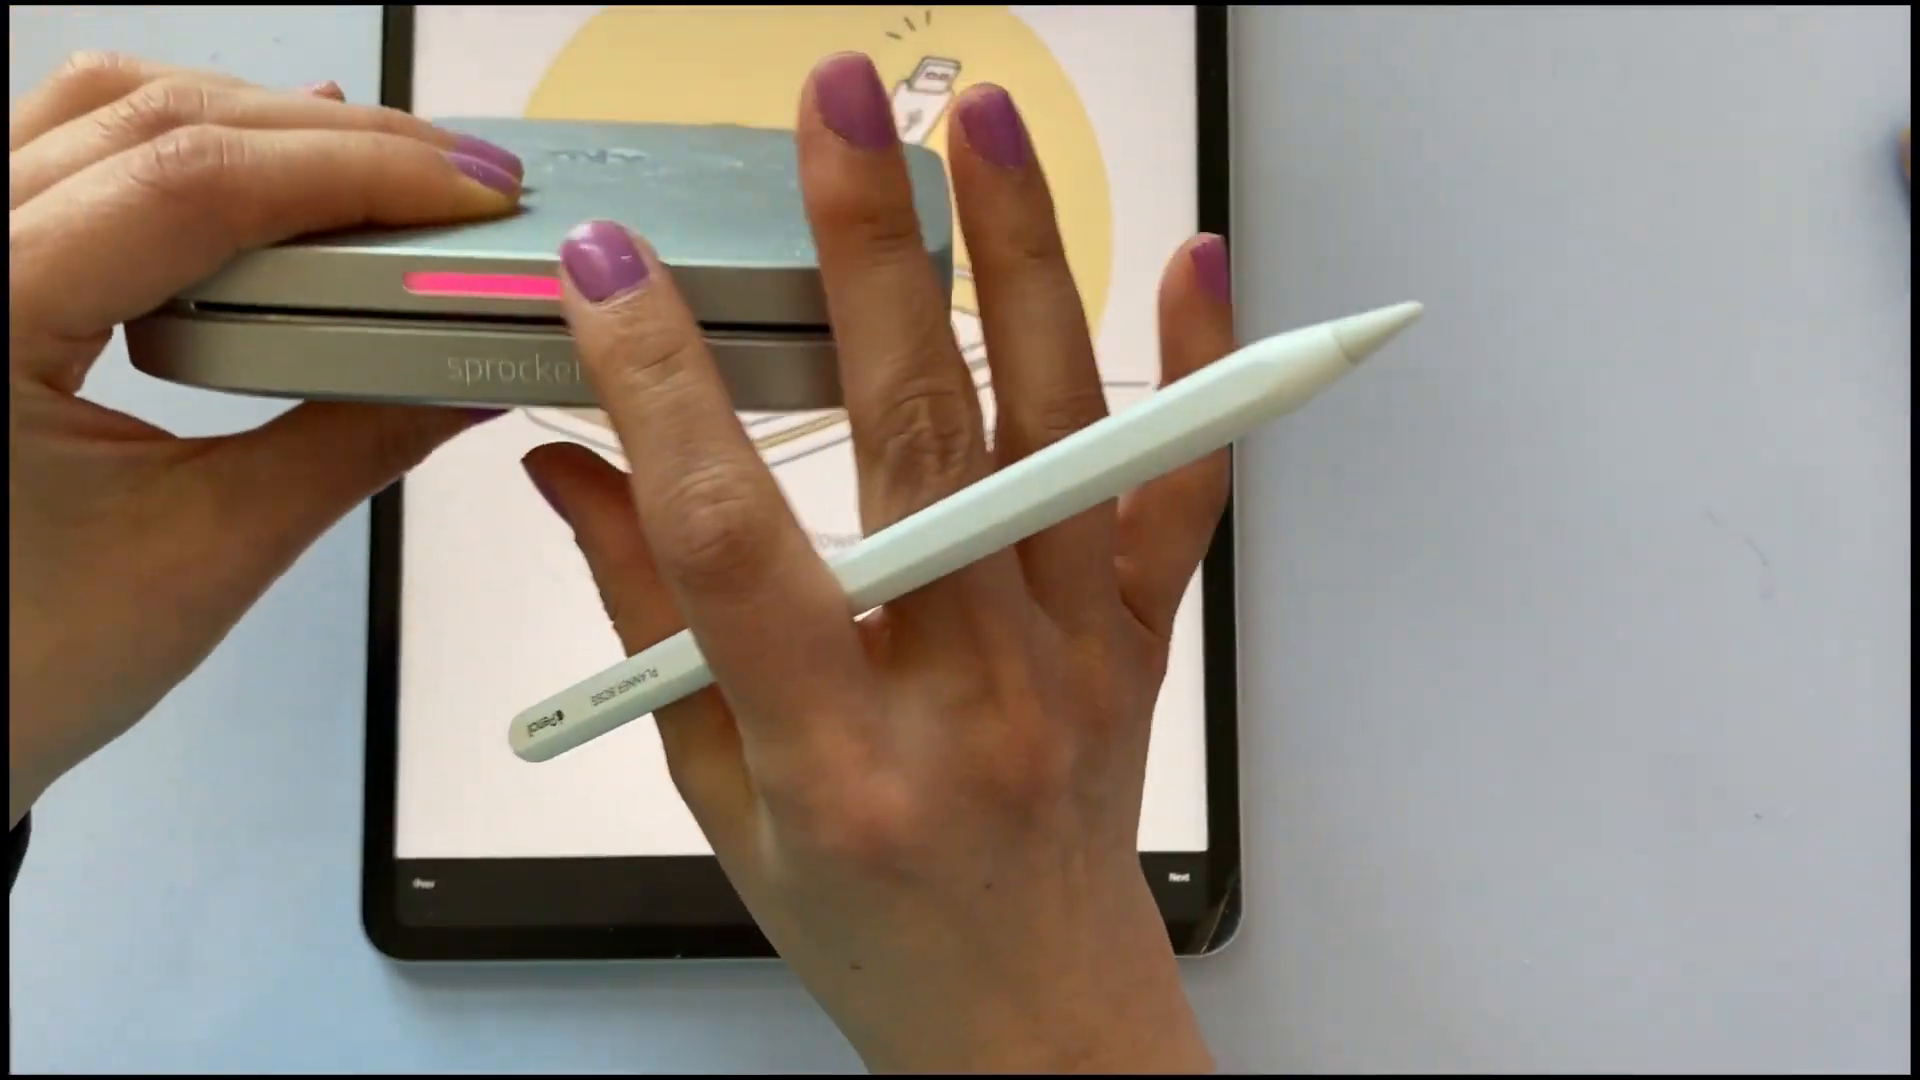
Charging and Preparing the Printer 🔋
Before you can start printing, you'll need to charge and prepare your HP Sprocket 3x4 printer.
Charging the Printer
First, plug in the charger. The good news is that the charger is the same as the one used for the 2x3 model, so if you have an extra, you can use it.
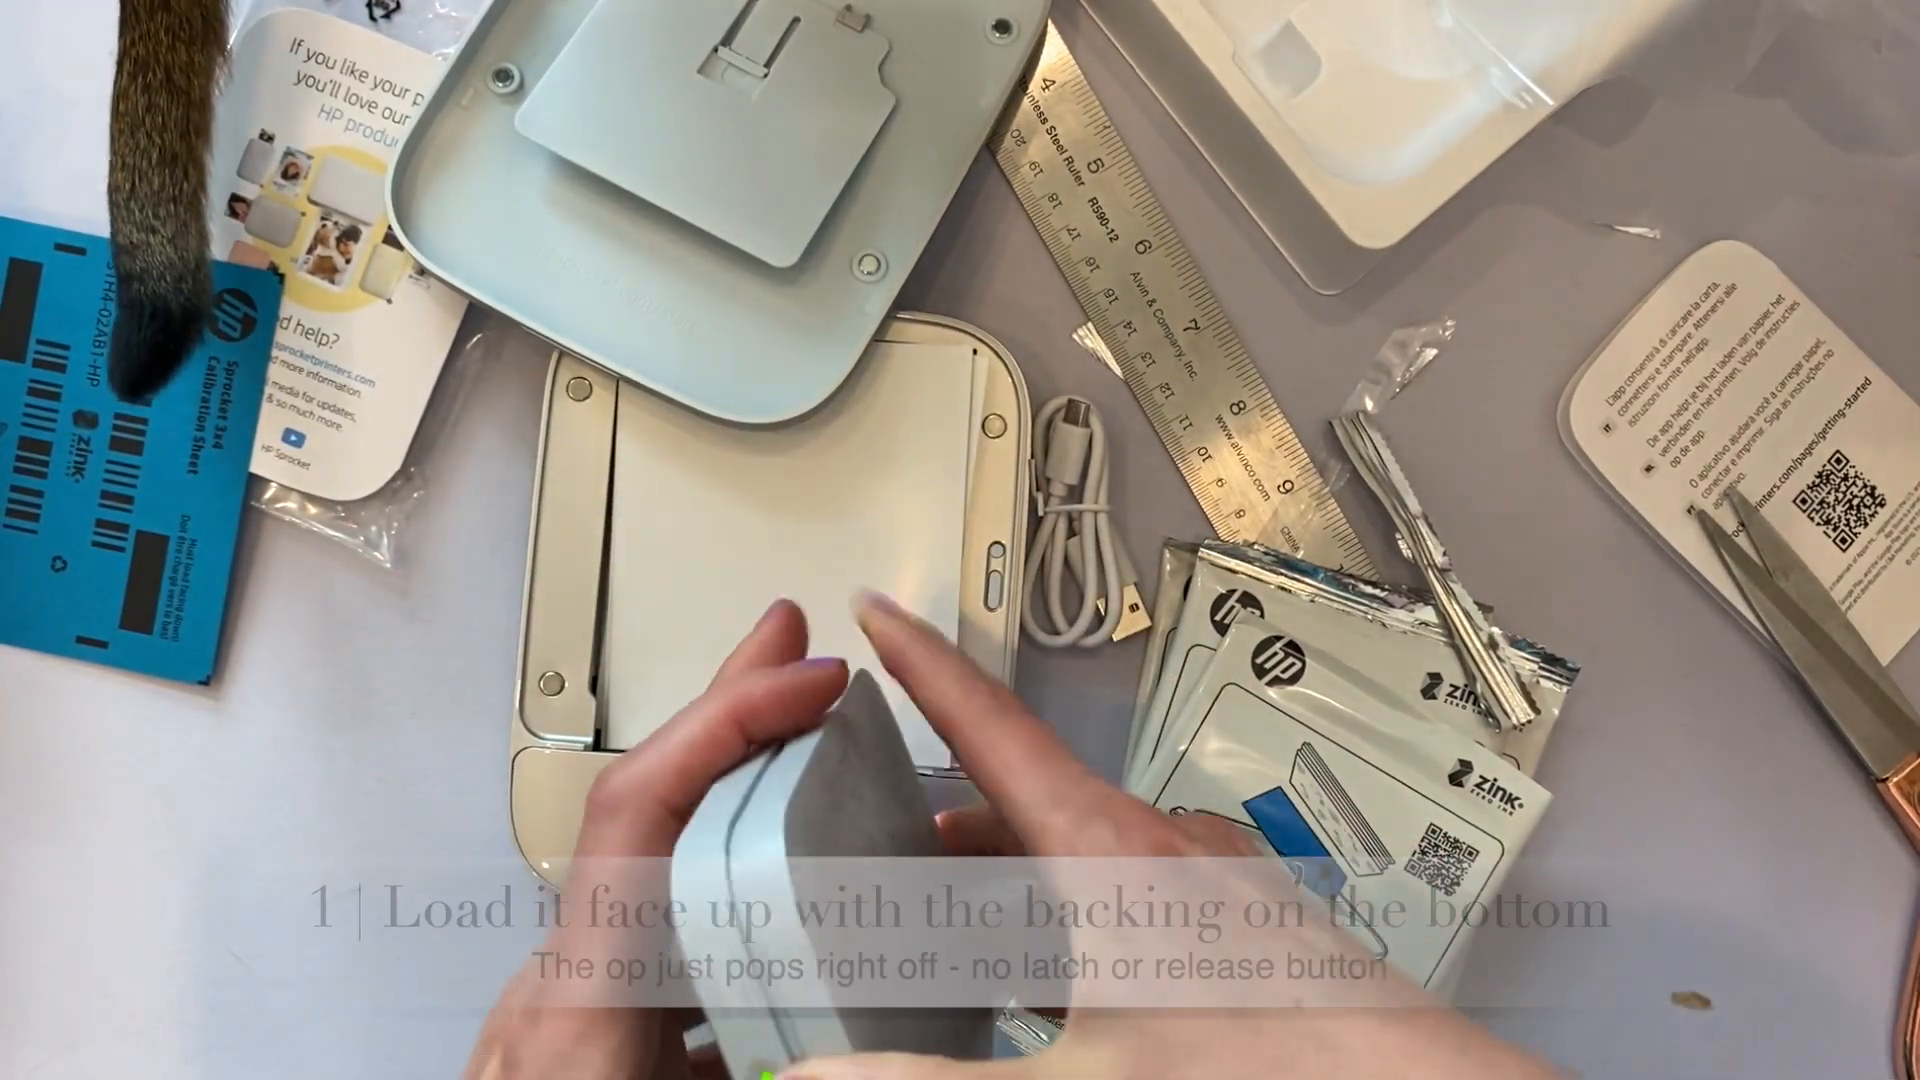
Loading the Zinc Paper
The printer comes with sample zinc paper. Open the back compartment of the printer and load the paper face up. Make sure the backing is on the bottom.
Open the back compartment
Load the paper face up
Ensure the backing is on the bottom
Connecting the Printer and Downloading the App 📱
Once your printer is charged and loaded with paper, the next step is to connect it to your device and download the HP Sprocket app.
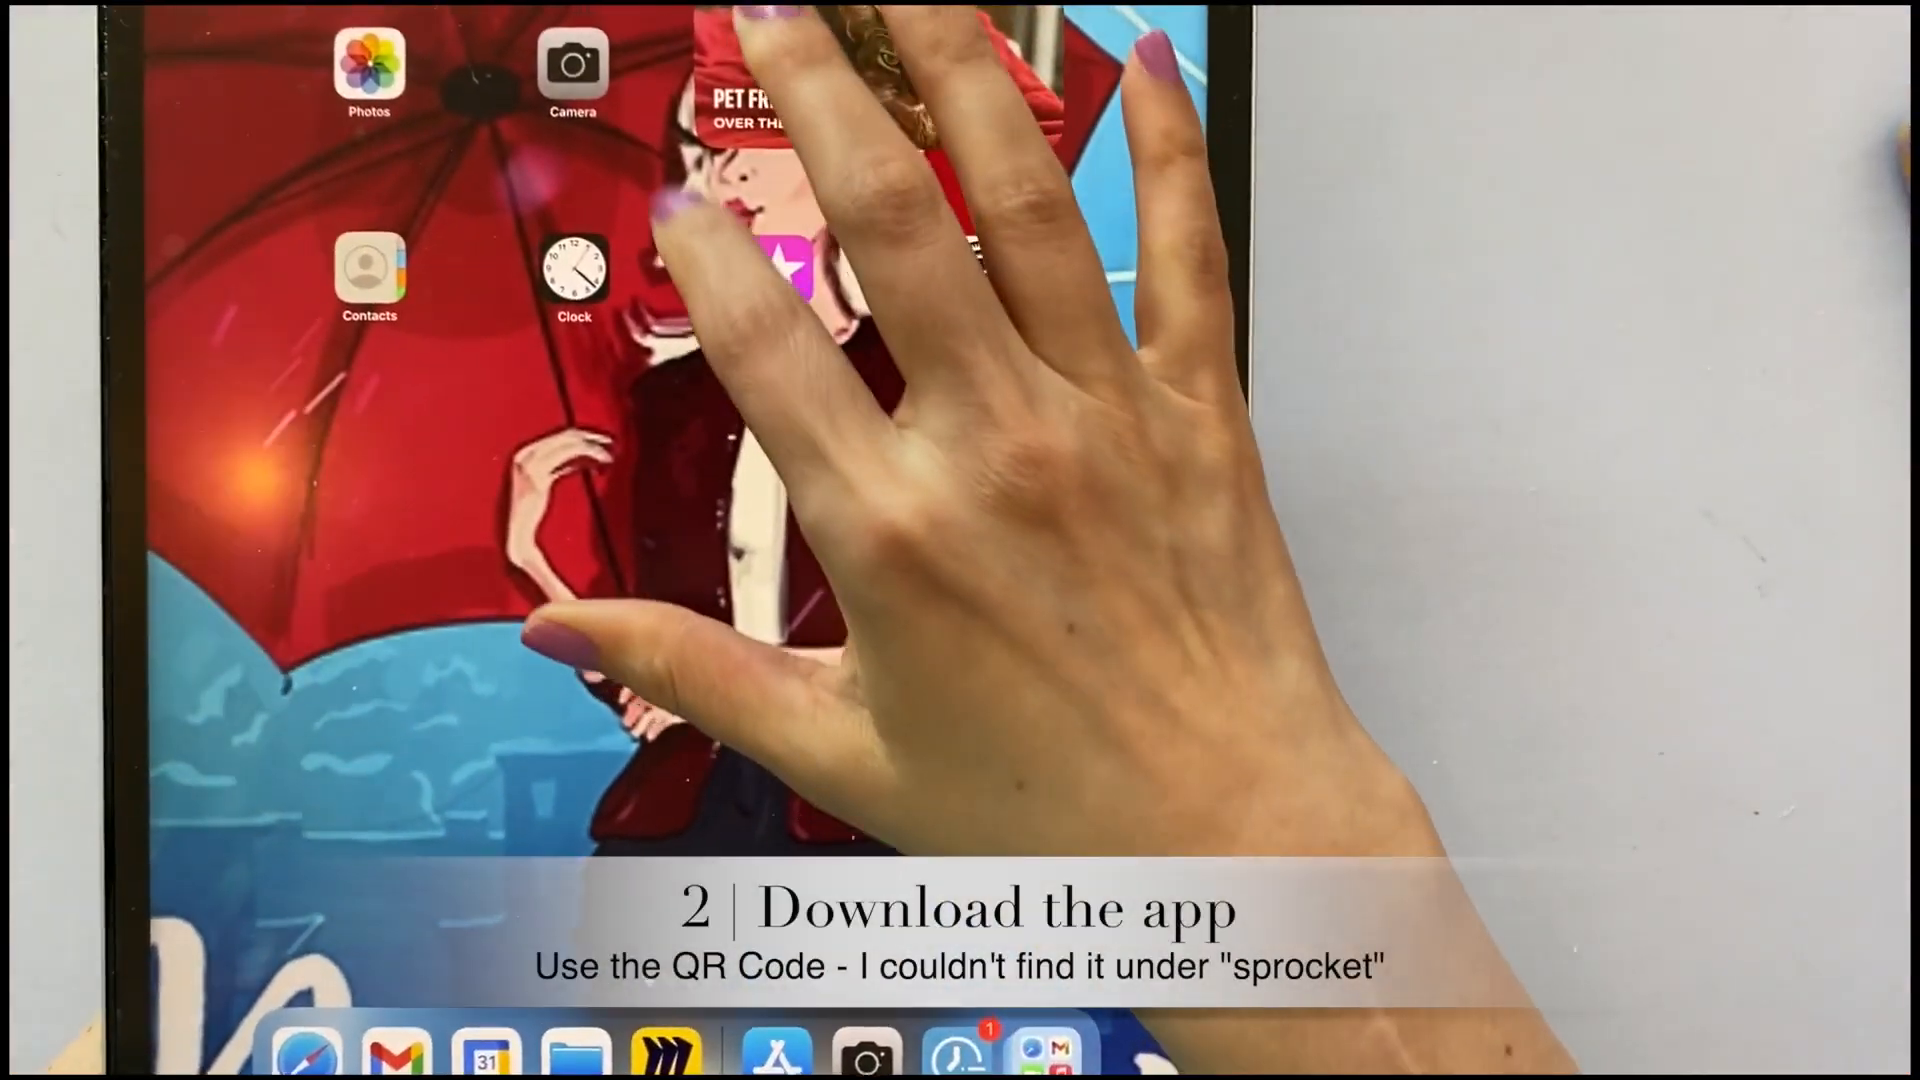
Downloading the App
The HP Sprocket app is essential for operating the printer. Use the QR code provided in the box to download the app from your device's app store.
Setting Up the Printer
Open the app and follow the instructions to set up your printer. This involves connecting via Bluetooth and selecting photos from your gallery.
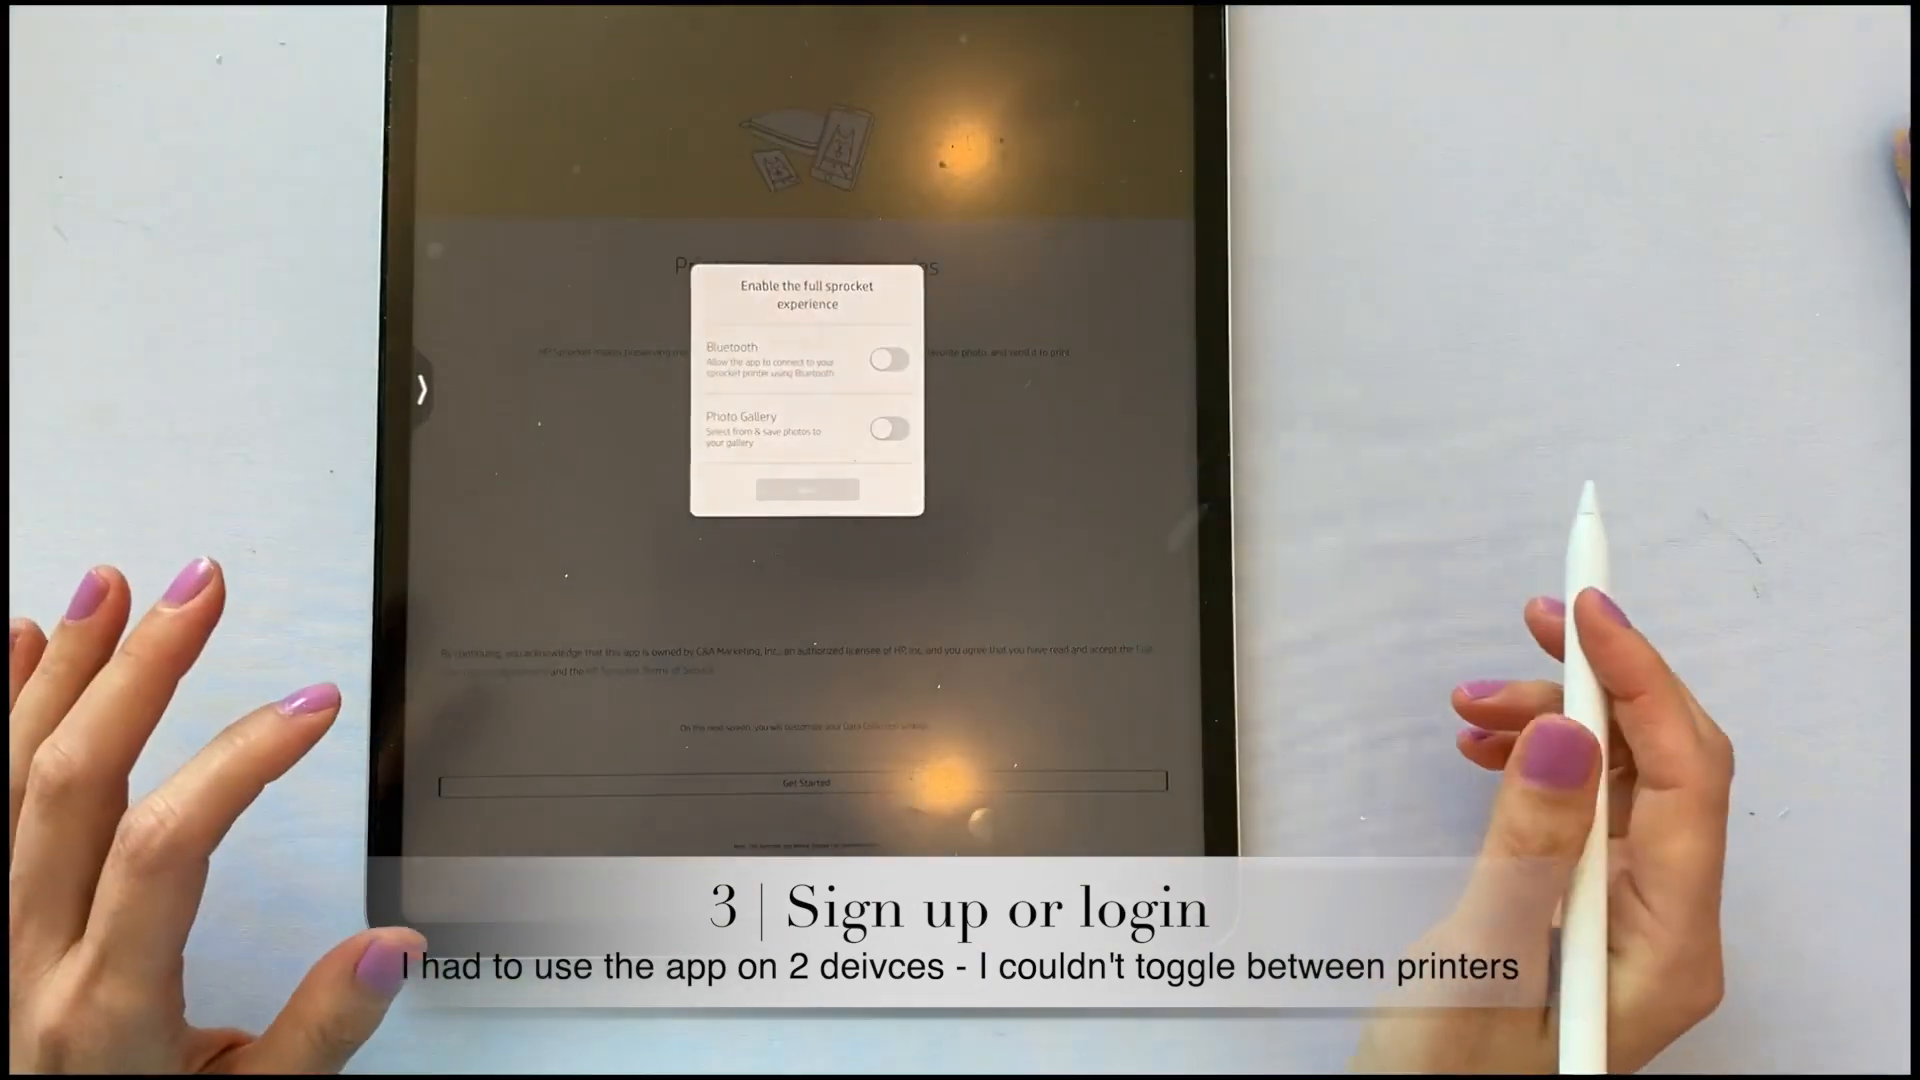
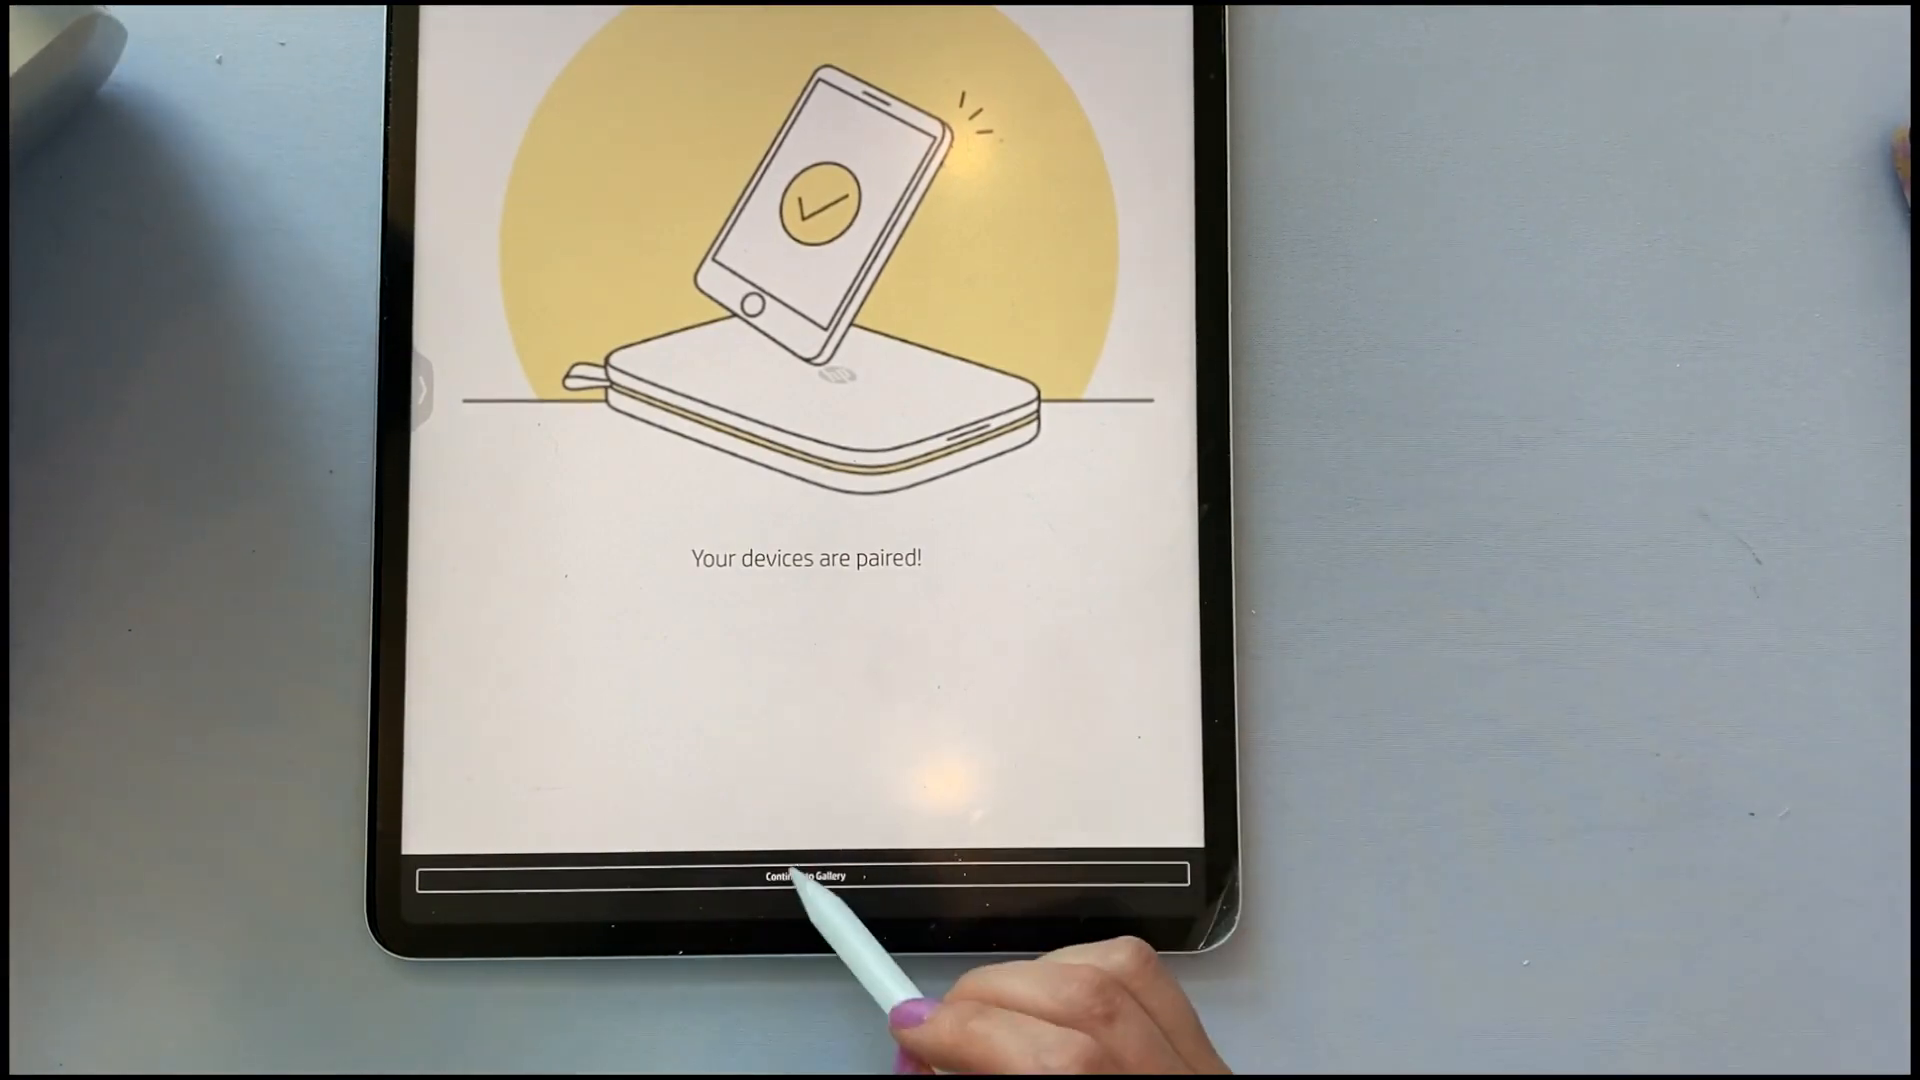
Connecting via Bluetooth
Ensure your printer is powered on and then connect it to your device using Bluetooth. The app will guide you through this process.
Power on the printer
Open the app
Select Bluetooth connection
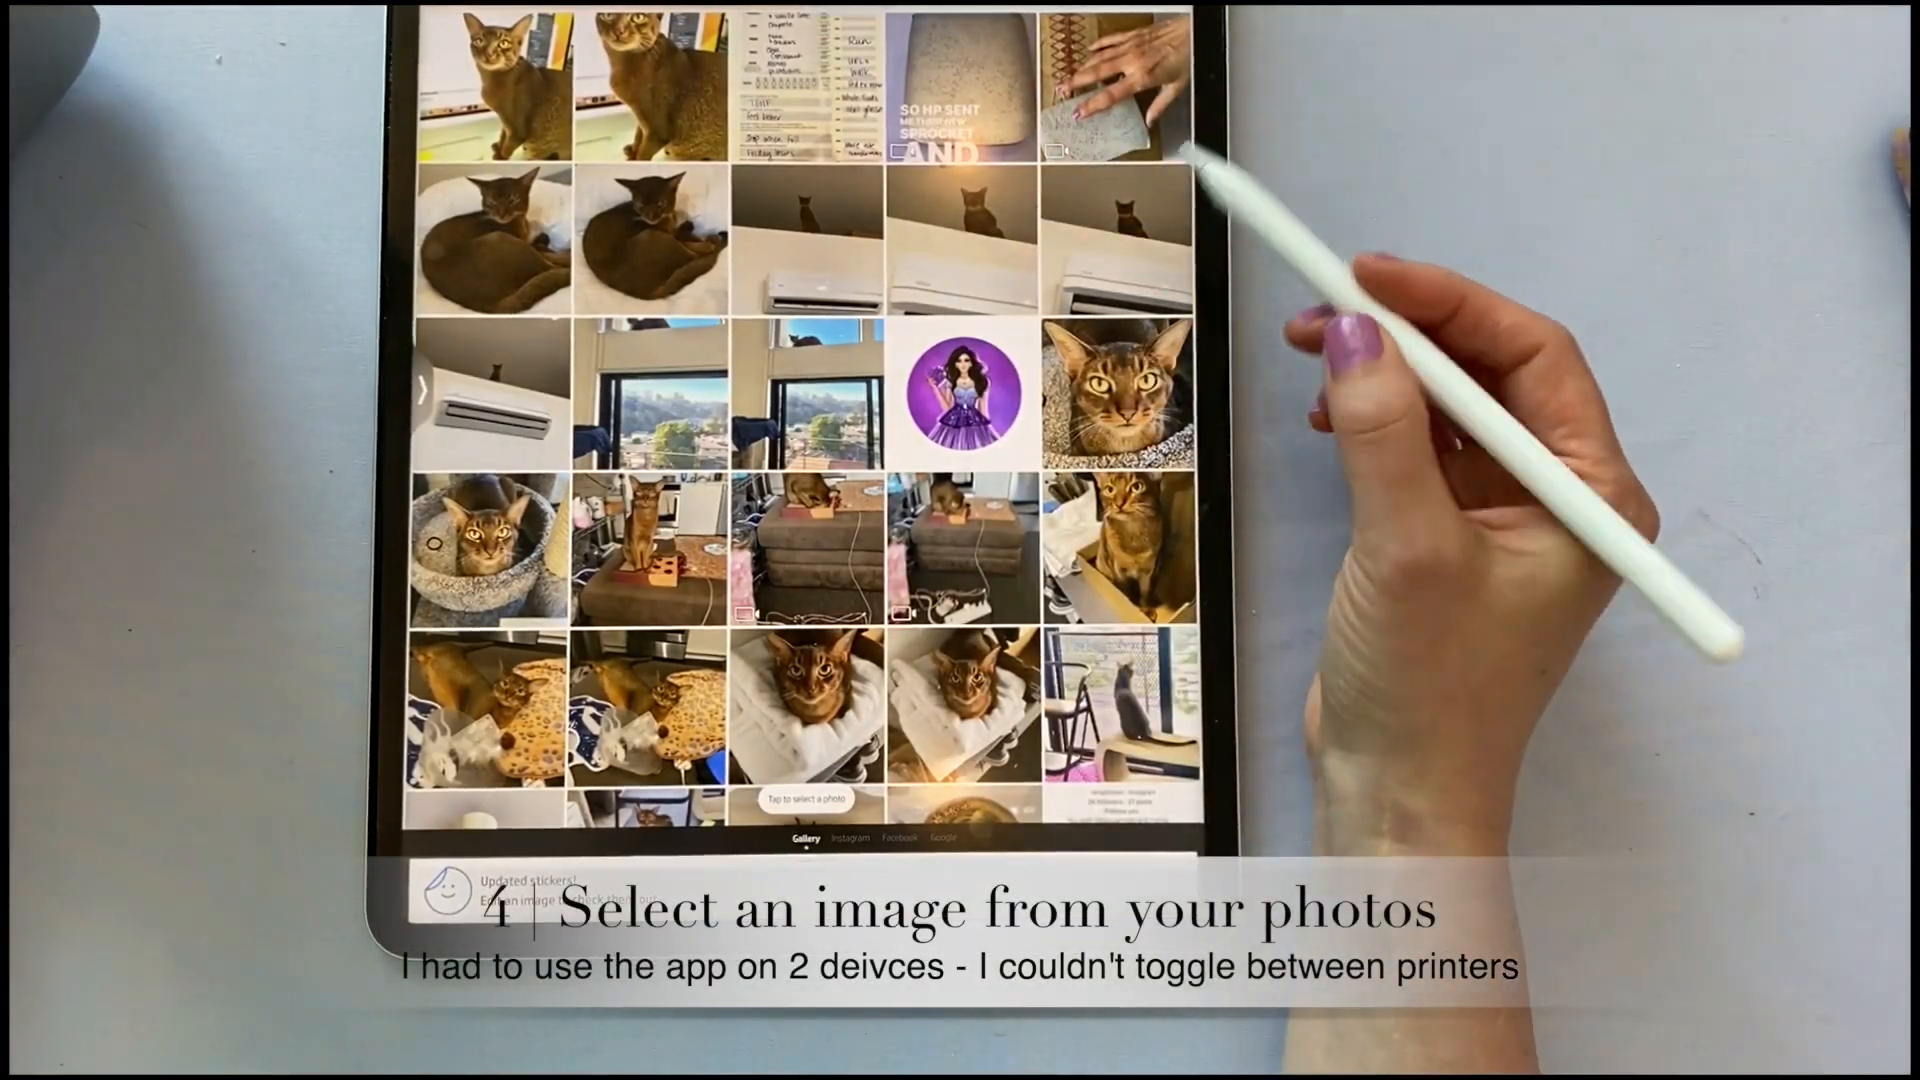
Selecting Photos
Once connected, you can select photos from your gallery to print. The app offers various editing features to enhance your photos before printing.
Printing Your First Photo 🖼️
Printing your first photo with the HP Sprocket 3x4 is a straightforward process. Let me guide you through it.
Selecting an Image
First, open the HP Sprocket app and select an image from your gallery. The app allows you to browse through your photos and choose the one you want to print.
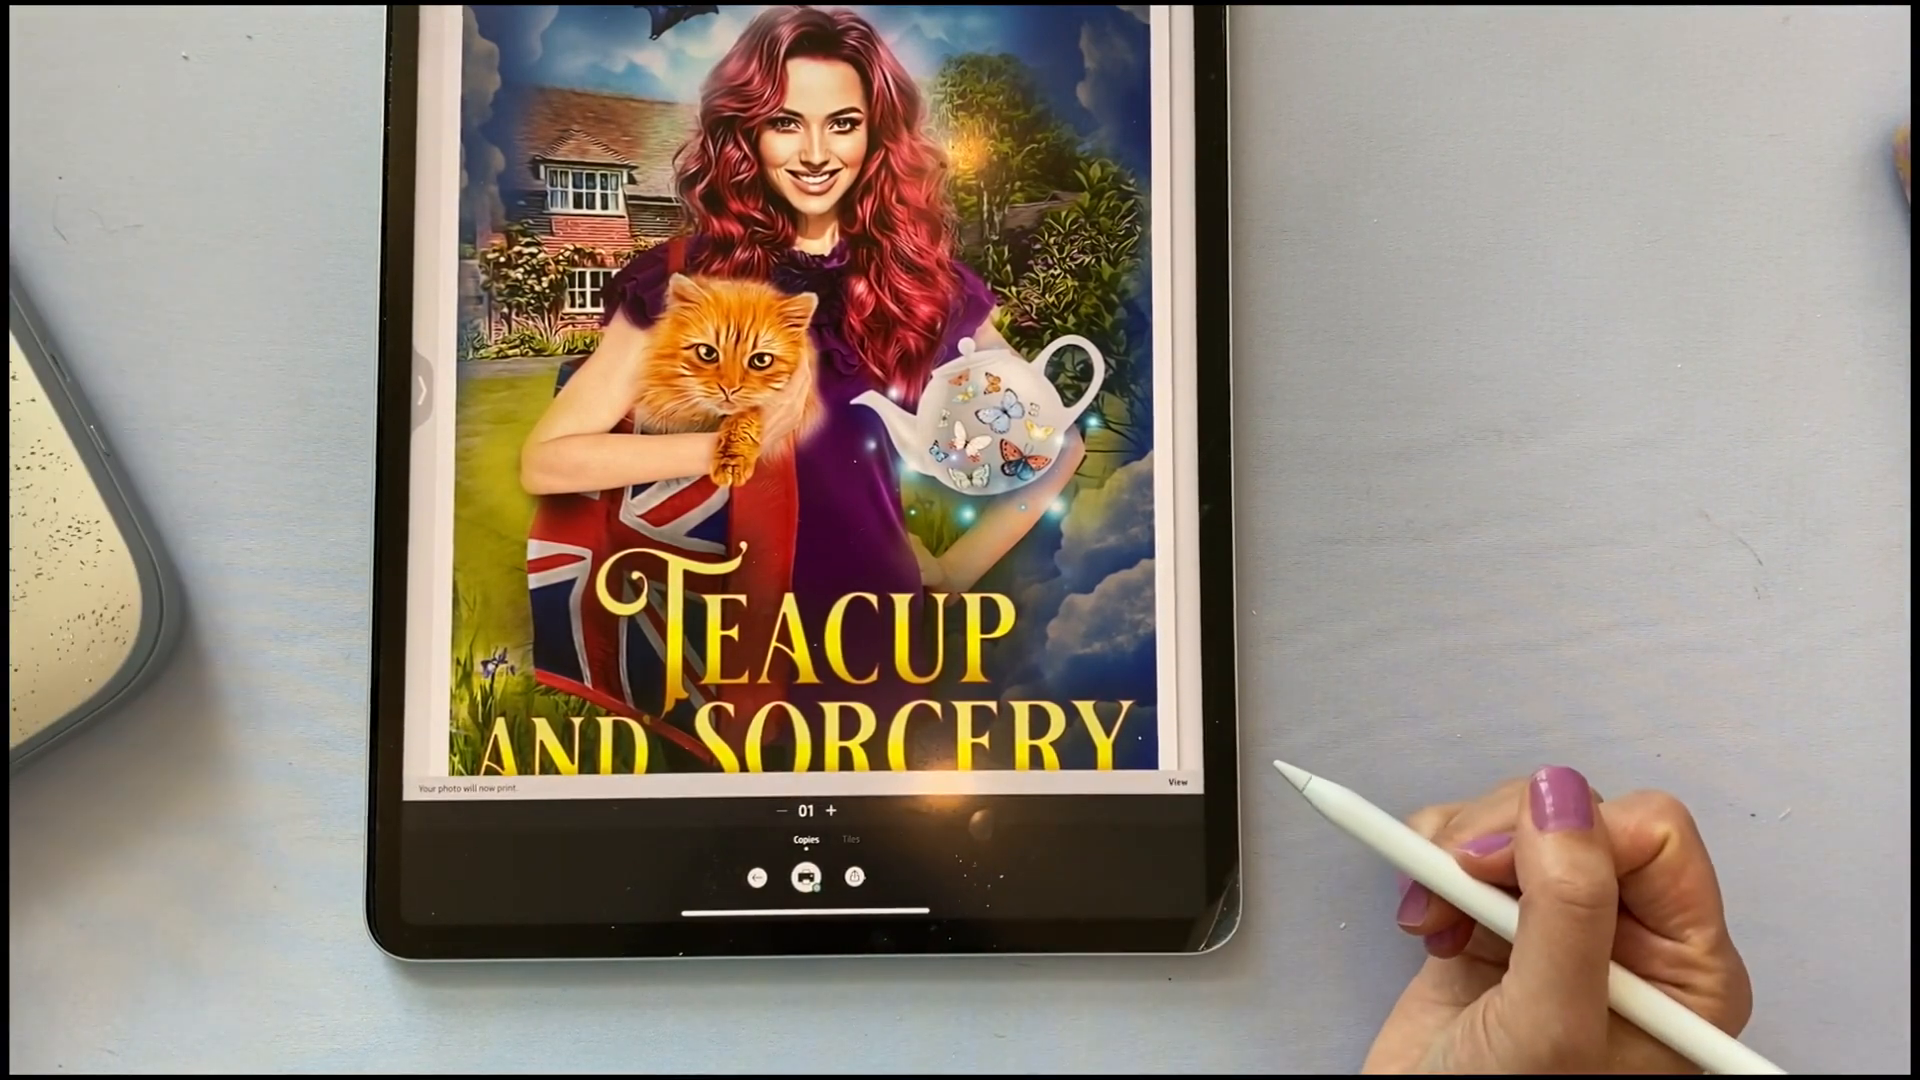
Sending the Photo to Print
Once you've selected your image, send it to the printer. The app will show a progress bar indicating the status of your print job.
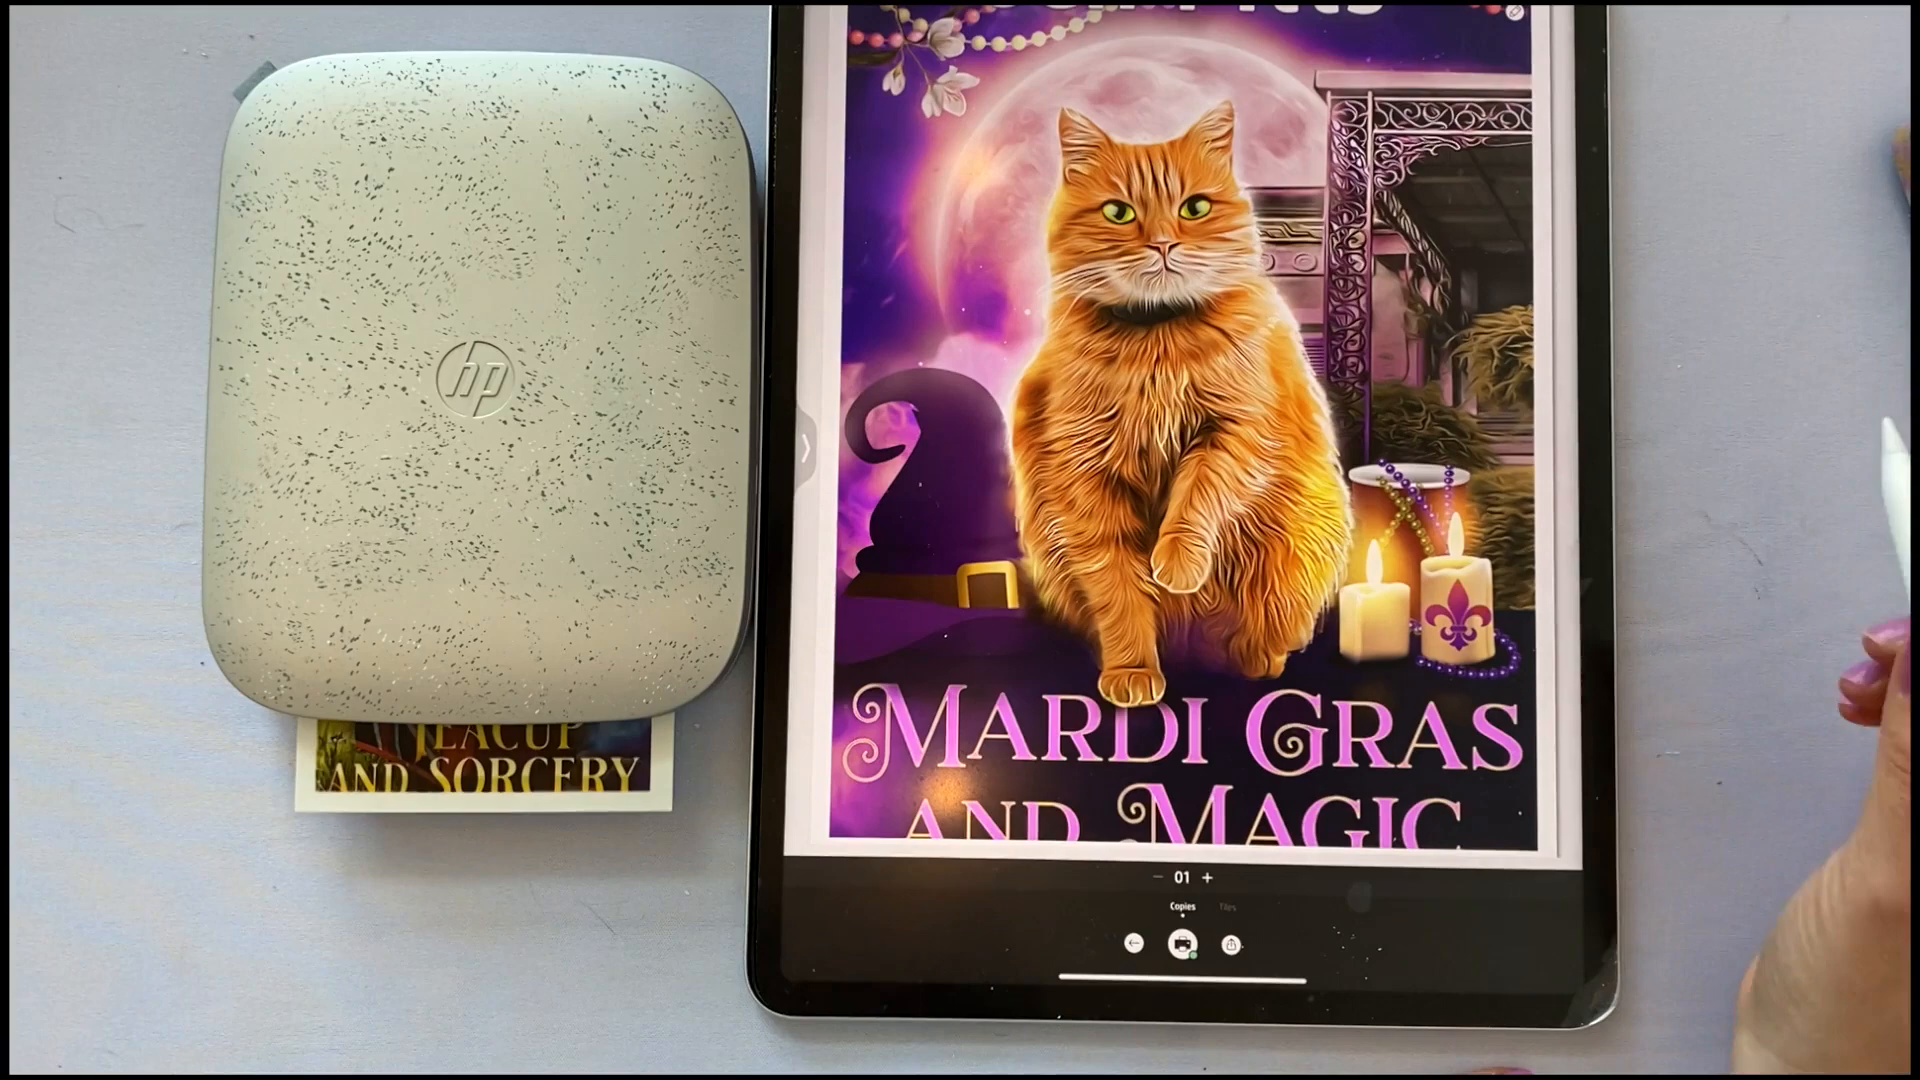
Waiting for the Print
After sending the photo, the printer will start printing. Wait a few moments, and your photo will be ready.
It's an exciting moment to see your digital memories become tangible!
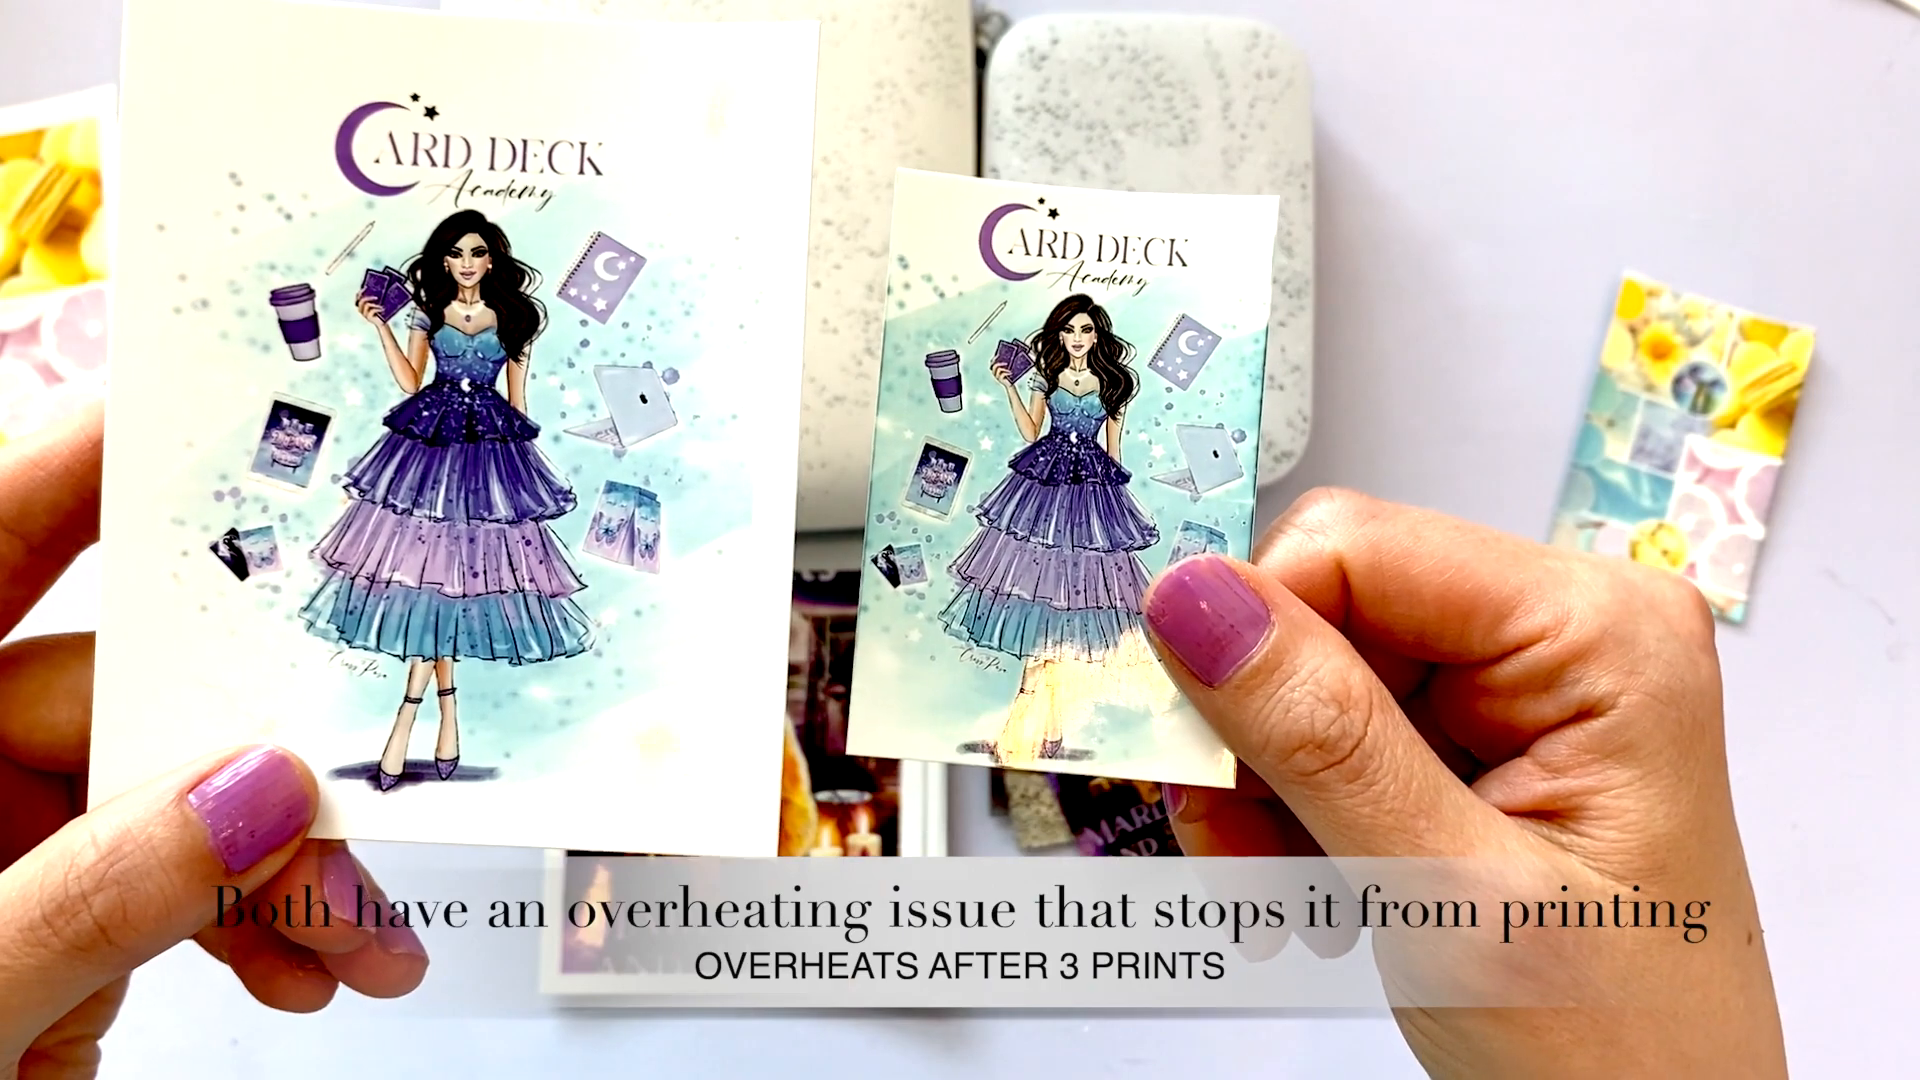
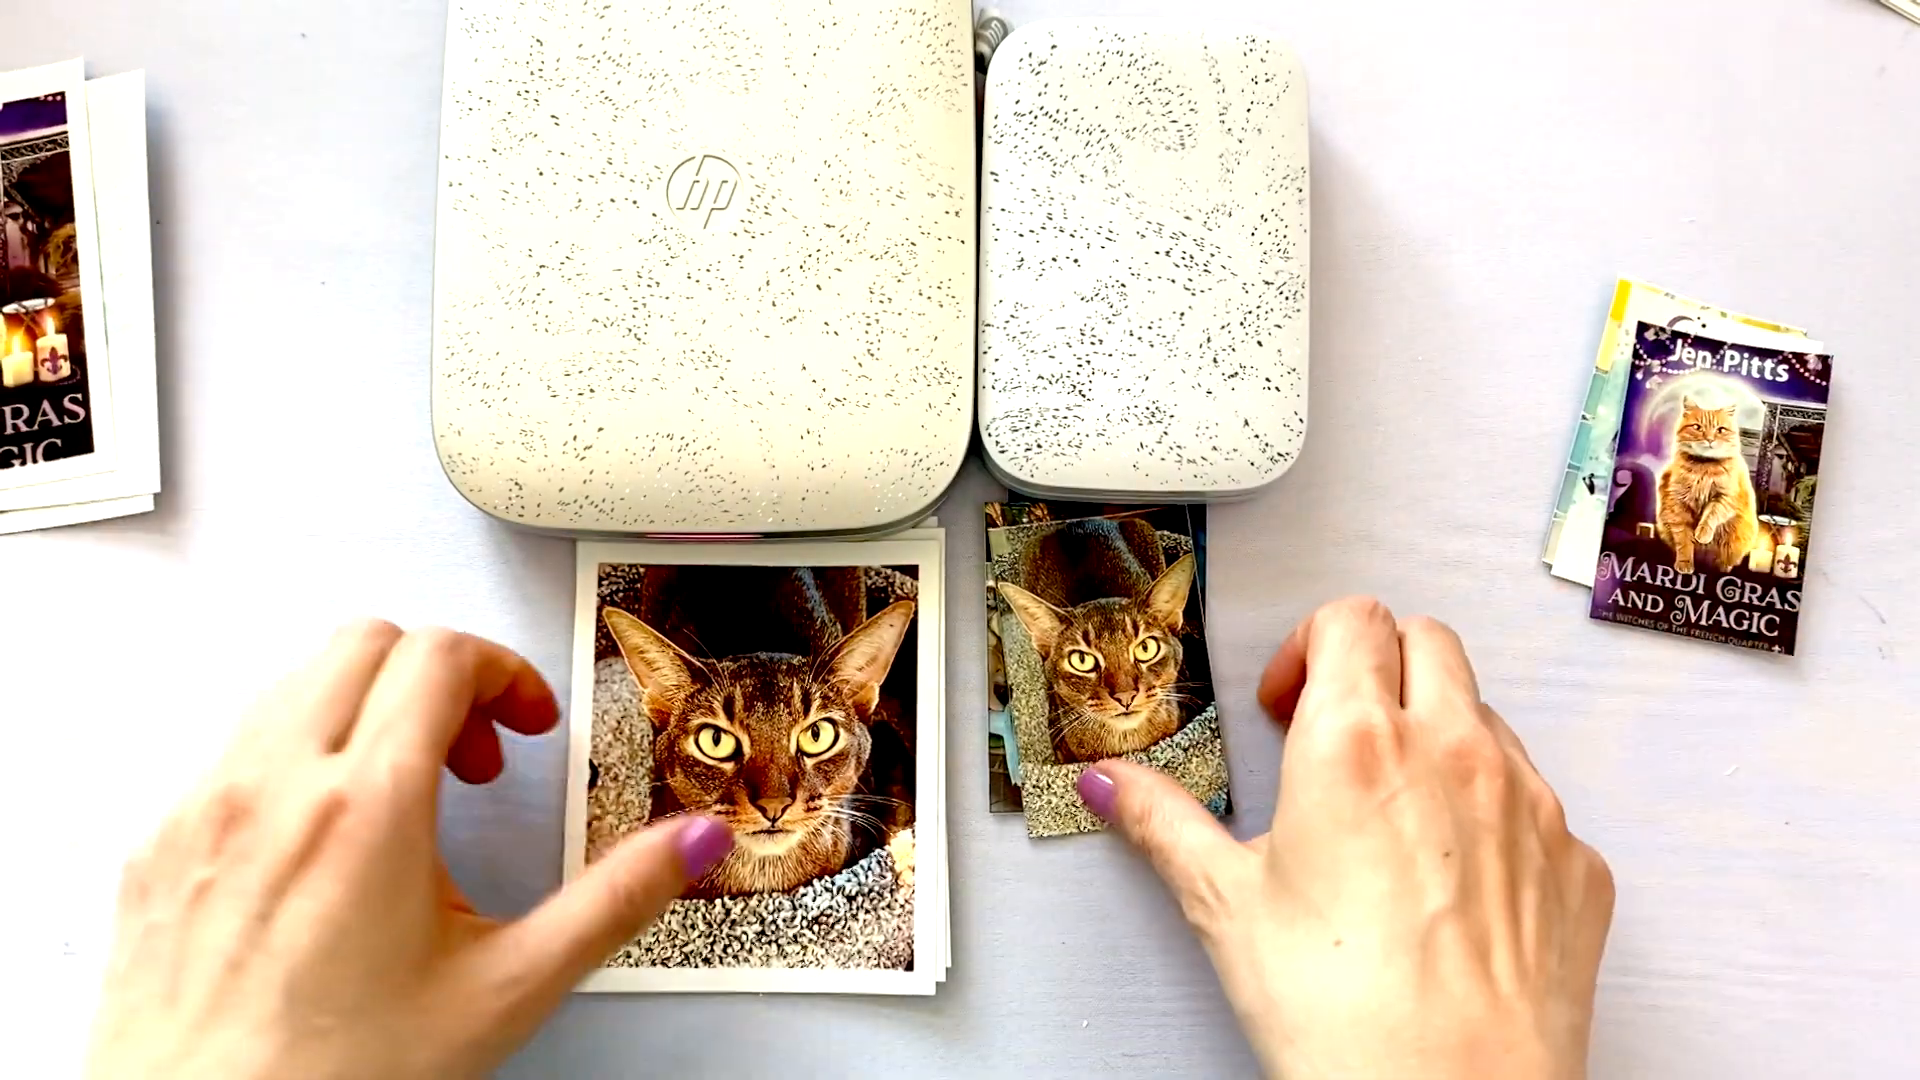
Comparing Print Quality and Speed ⚡
When choosing between the HP Sprocket 3x4 and the 2x3, print quality and speed are crucial factors.
Quality Comparison
The larger HP Sprocket 3x4 tends to produce better quality prints. The colors are more vivid and accurate compared to the 2x3 model.
Speed Comparison
Both models print relatively quickly. However, the Sprocket printers can overheat after printing a few photos, requiring a short rest period.
3x4: Higher quality
2x3: Slightly darker prints
Both: Quick but may overheat
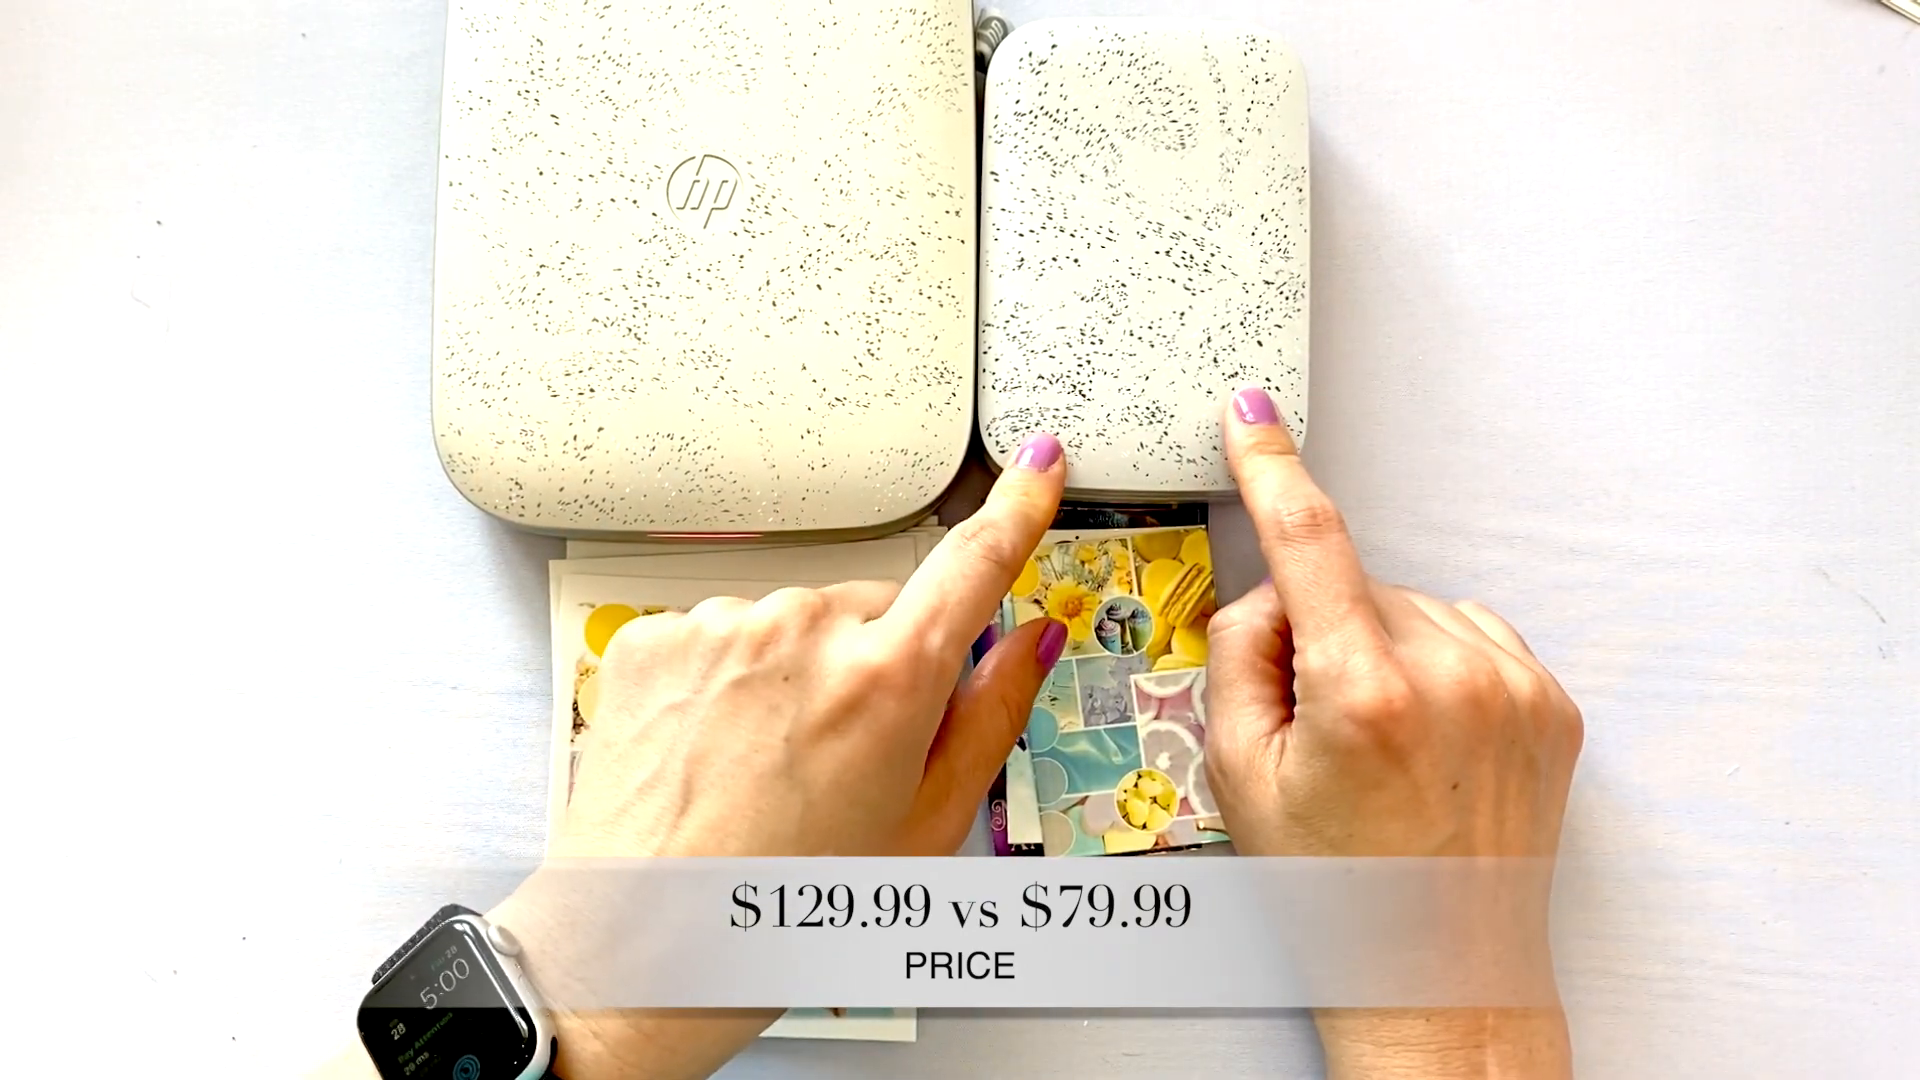
Pricing Consideration
The HP Sprocket 3x4 is priced at $129.99, while the 2x3 model costs $79.99. The price difference reflects the enhanced features and print quality of the larger model.
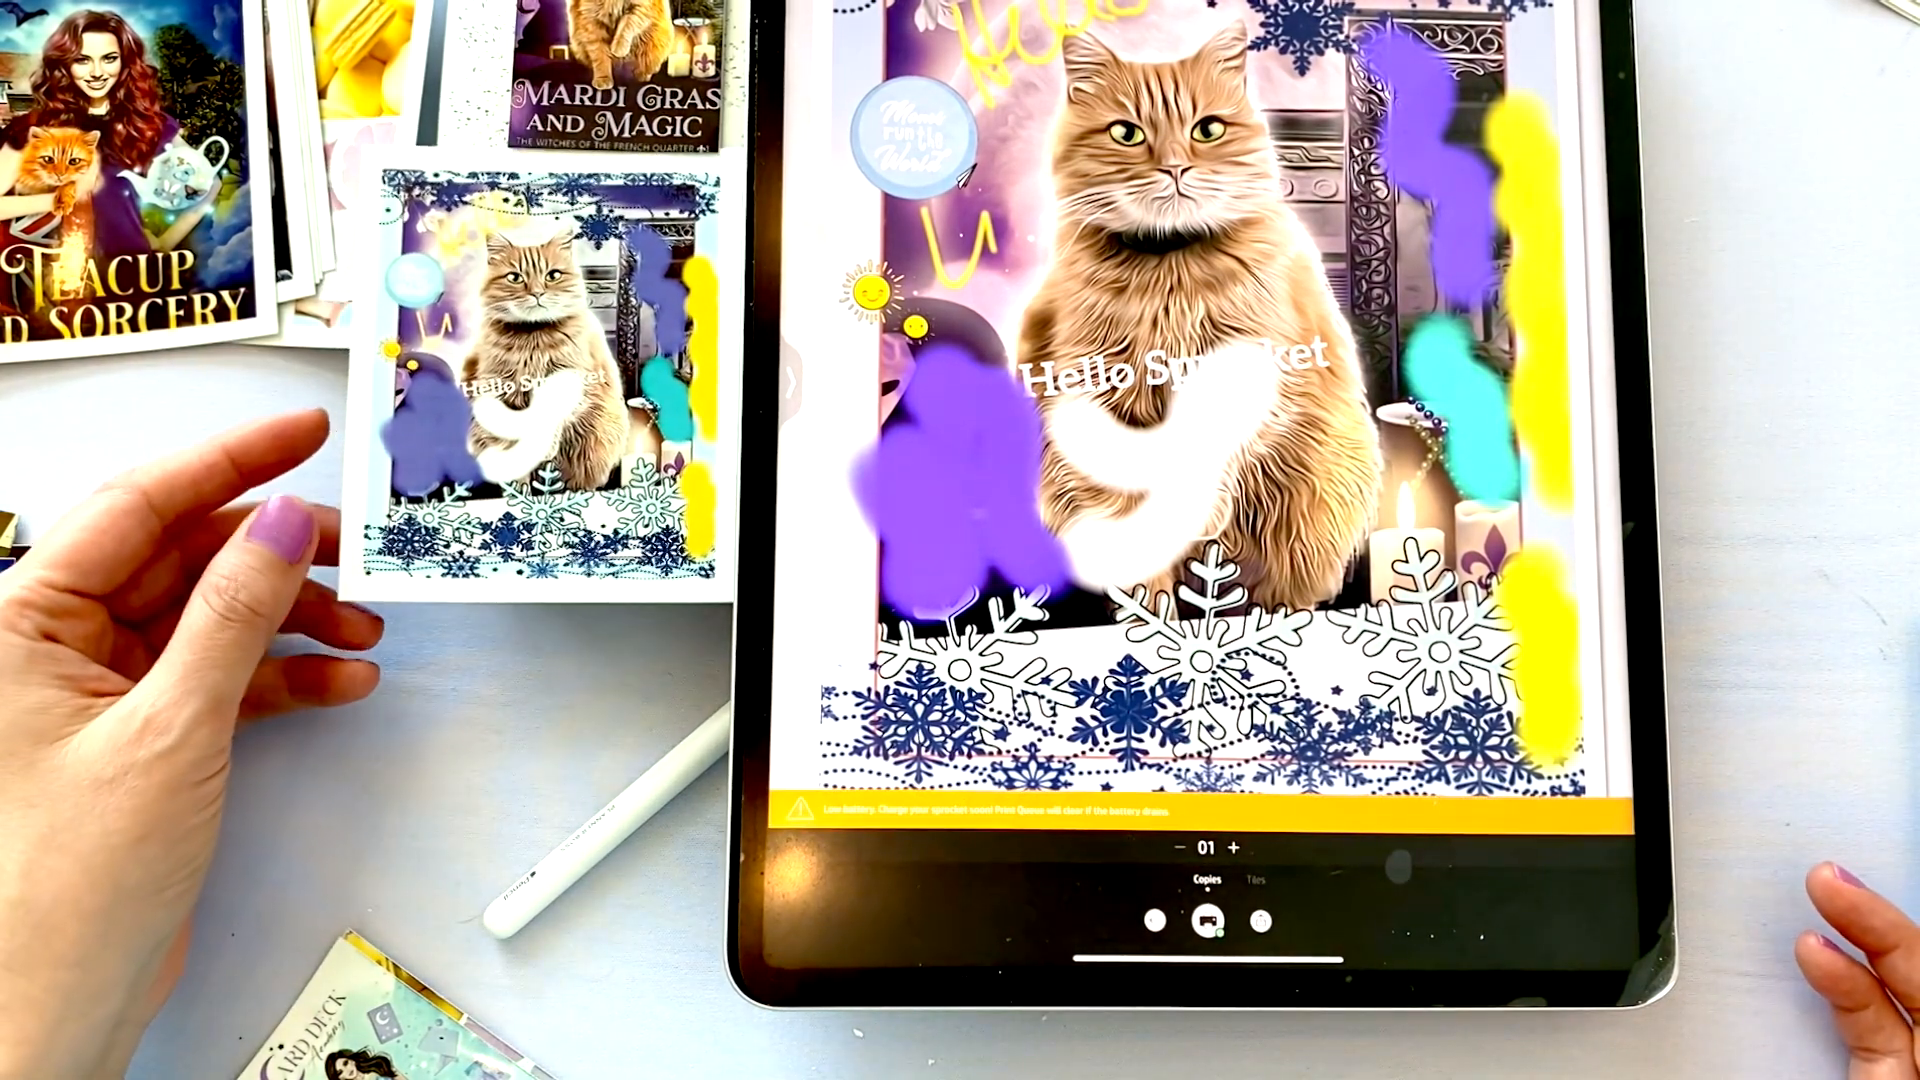
Formatting and Editing Options 🖋️
The HP Sprocket app offers various formatting and editing options to customize your prints. Let's explore these features.
Resizing Images
One of the useful features is the ability to resize images. However, the 3x4 model might have limitations compared to the 2x3 when it comes to resizing.
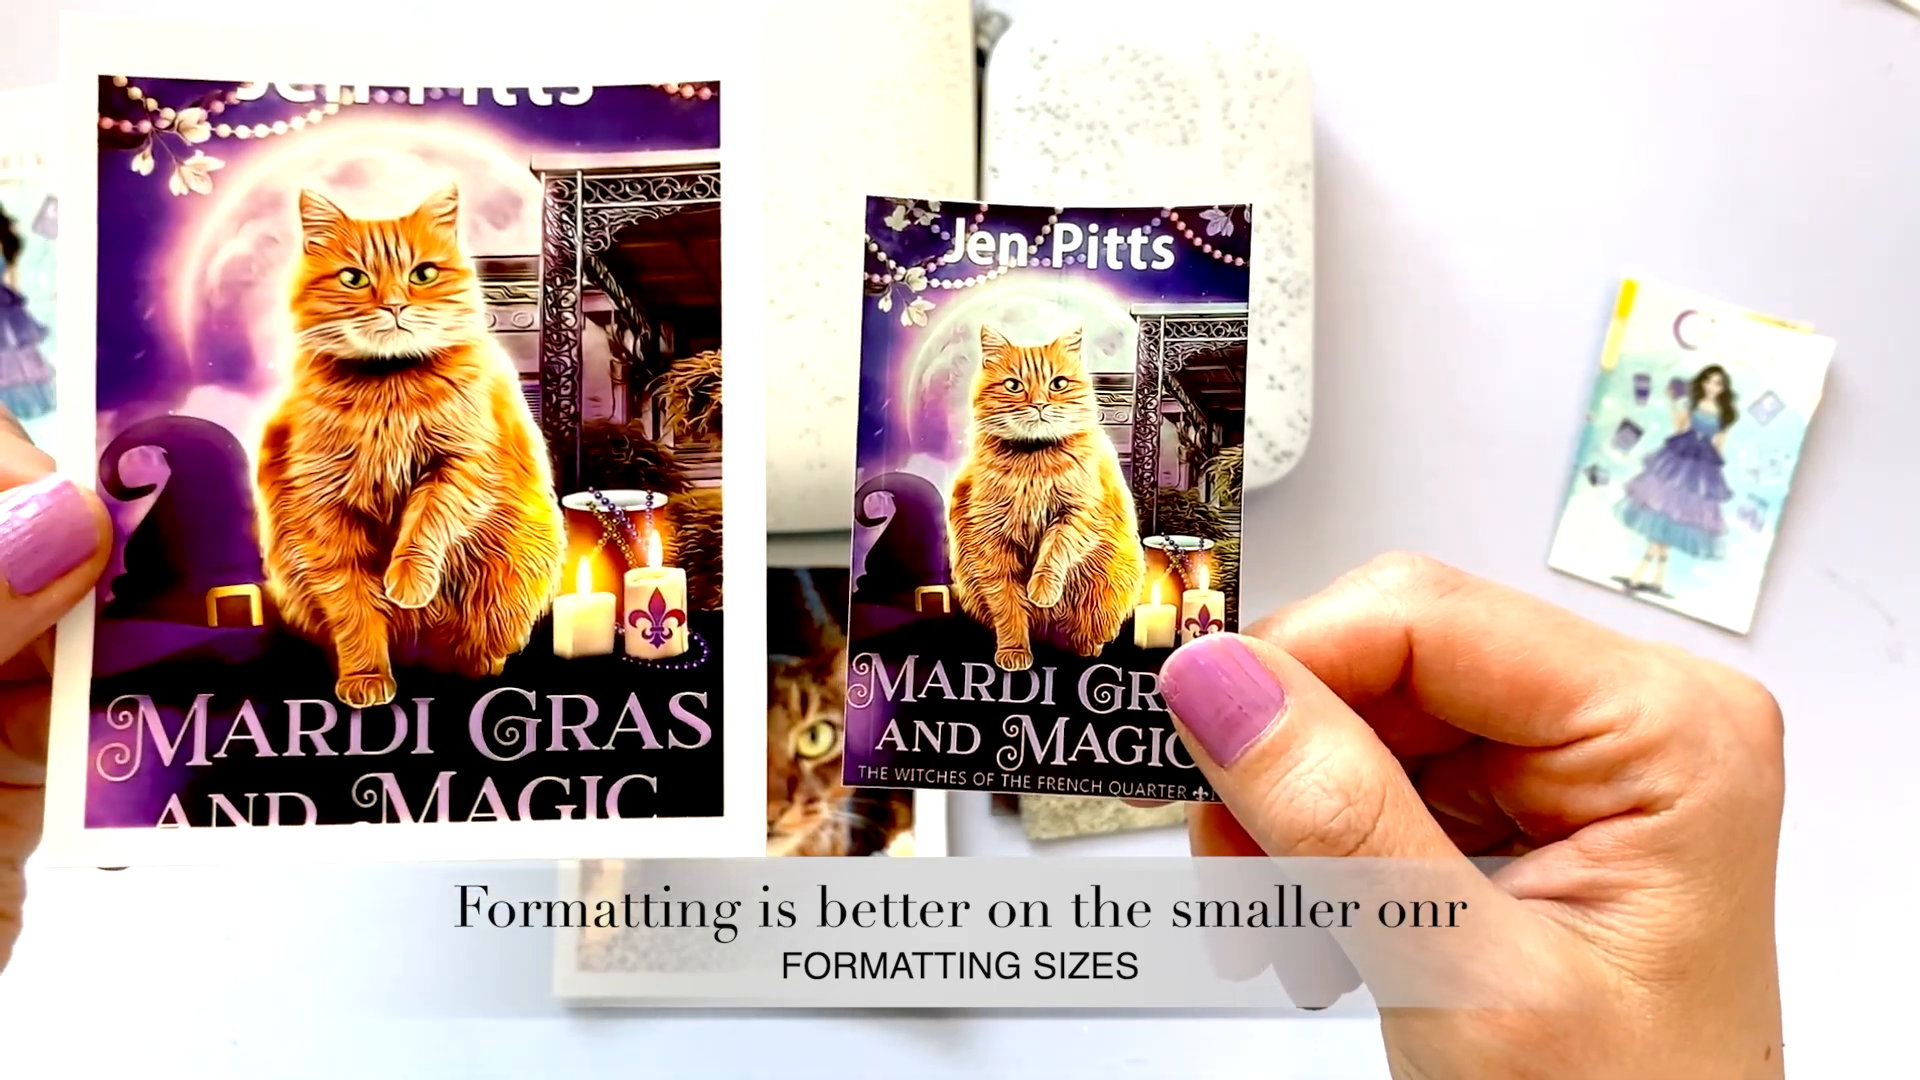
Adding Borders and Bleeds
The app allows you to add borders and bleeds to your photos. The 3x4 model often includes a white border, which might not be desirable for all users.
Add borders
Include bleeds
Customize layouts
Editing Features
The HP Sprocket app includes various editing tools. You can enhance your photos with filters, text, and stickers before printing.
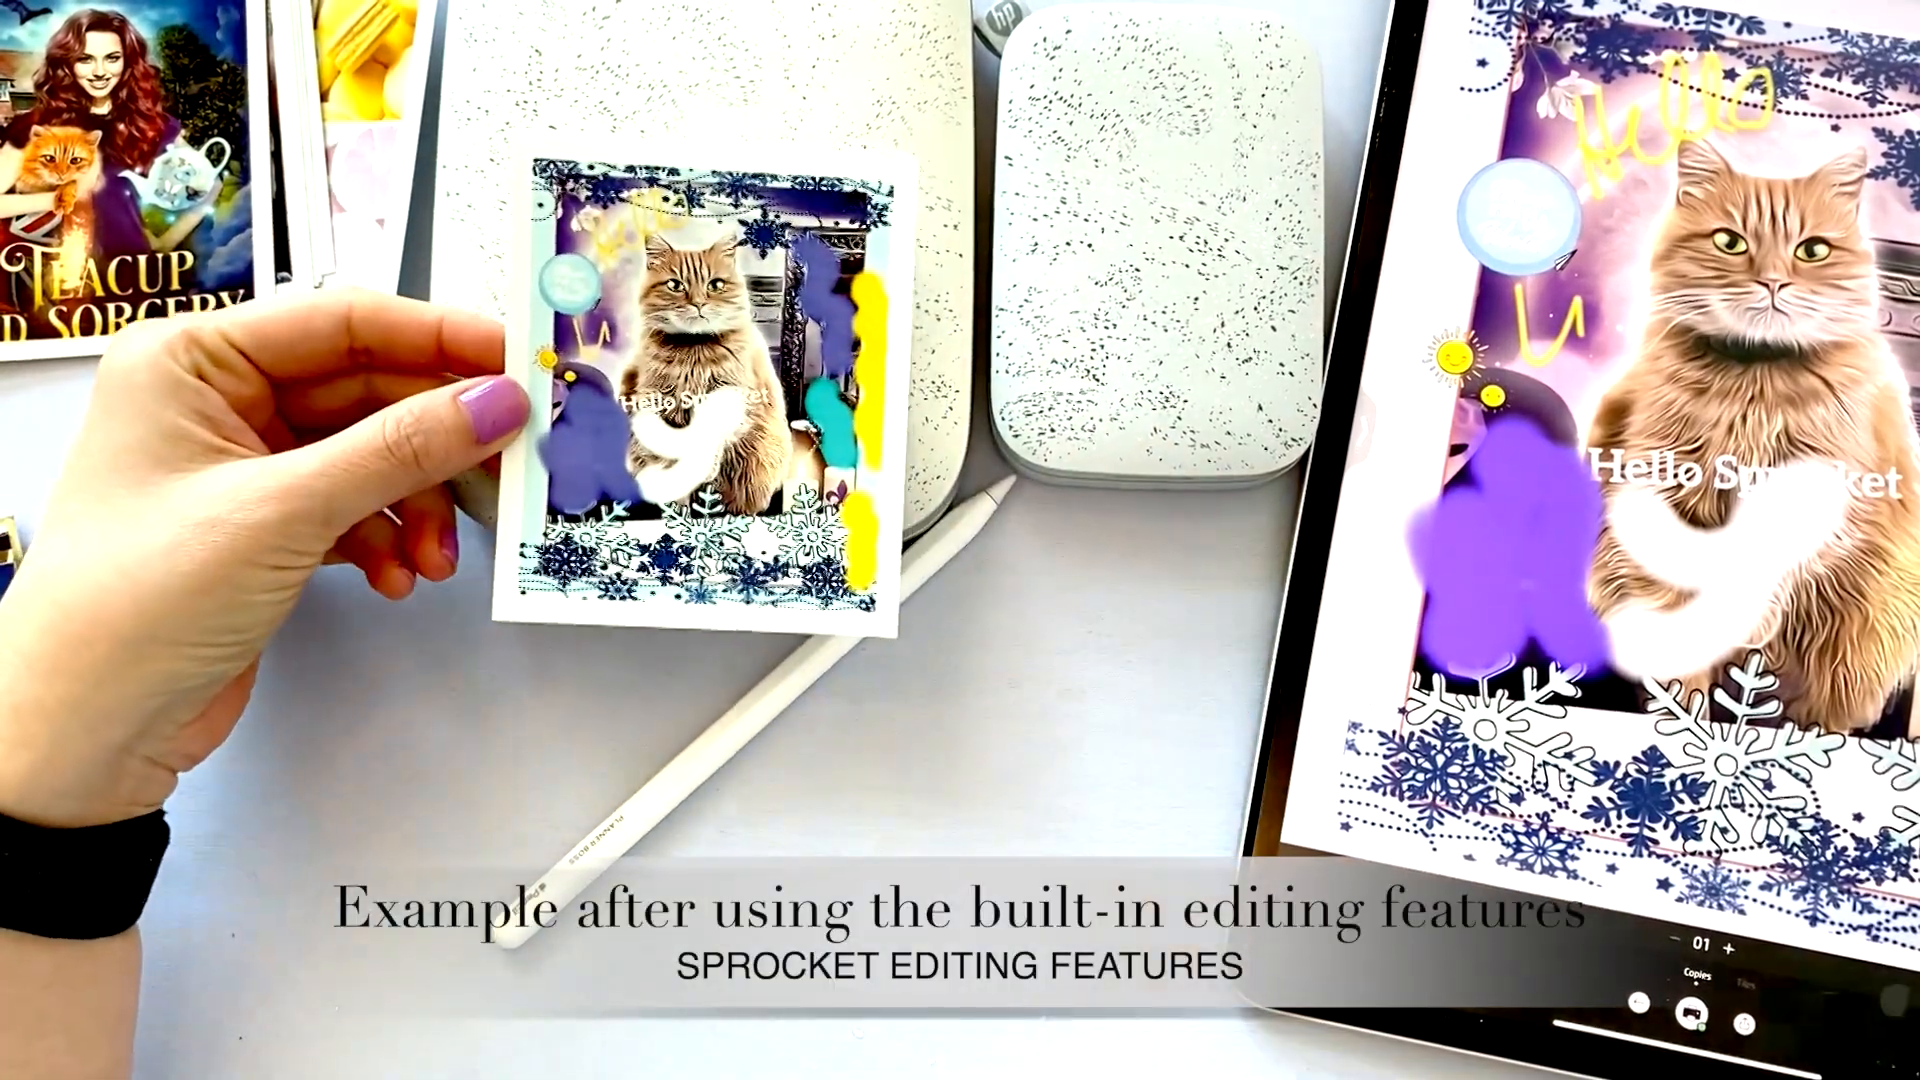
Filters and Effects
Apply different filters to your photos to change the mood and style. Experiment with effects to make your prints unique.
Adding Text
Personalize your photos by adding text. Choose from various fonts and colors to match your style.
Using Stickers
The app includes a collection of stickers to decorate your photos. Add fun and creative elements to your prints.
Final Thoughts and Recommendations 📝
In conclusion, the HP Sprocket 3x4 offers a range of exciting features and high-quality prints. It's a significant upgrade from the 2x3 model.
Key Takeaways
Here are the main points to consider when choosing between the two models:
Better print quality
Higher price
More editing features
Who Should Buy It?
If you enjoy high-quality prints and additional editing options, the HP Sprocket 3x4 is worth the investment. It's perfect for creative projects and photo enthusiasts.
Return To Blog
Blog Posts
Pretty Fabulous YouTube Channel
It's LIVE + FREE
AI Selfies 101
Never waste thousands of $$ on a photoshoot ever again
Give yourself an AI photoshoot to match any branding you have!